
Zion National Park: Packing Guide
Plan with current information. Conditions, roads, services, fees, and rules can change. Verify details with the National Park Service before your visit.
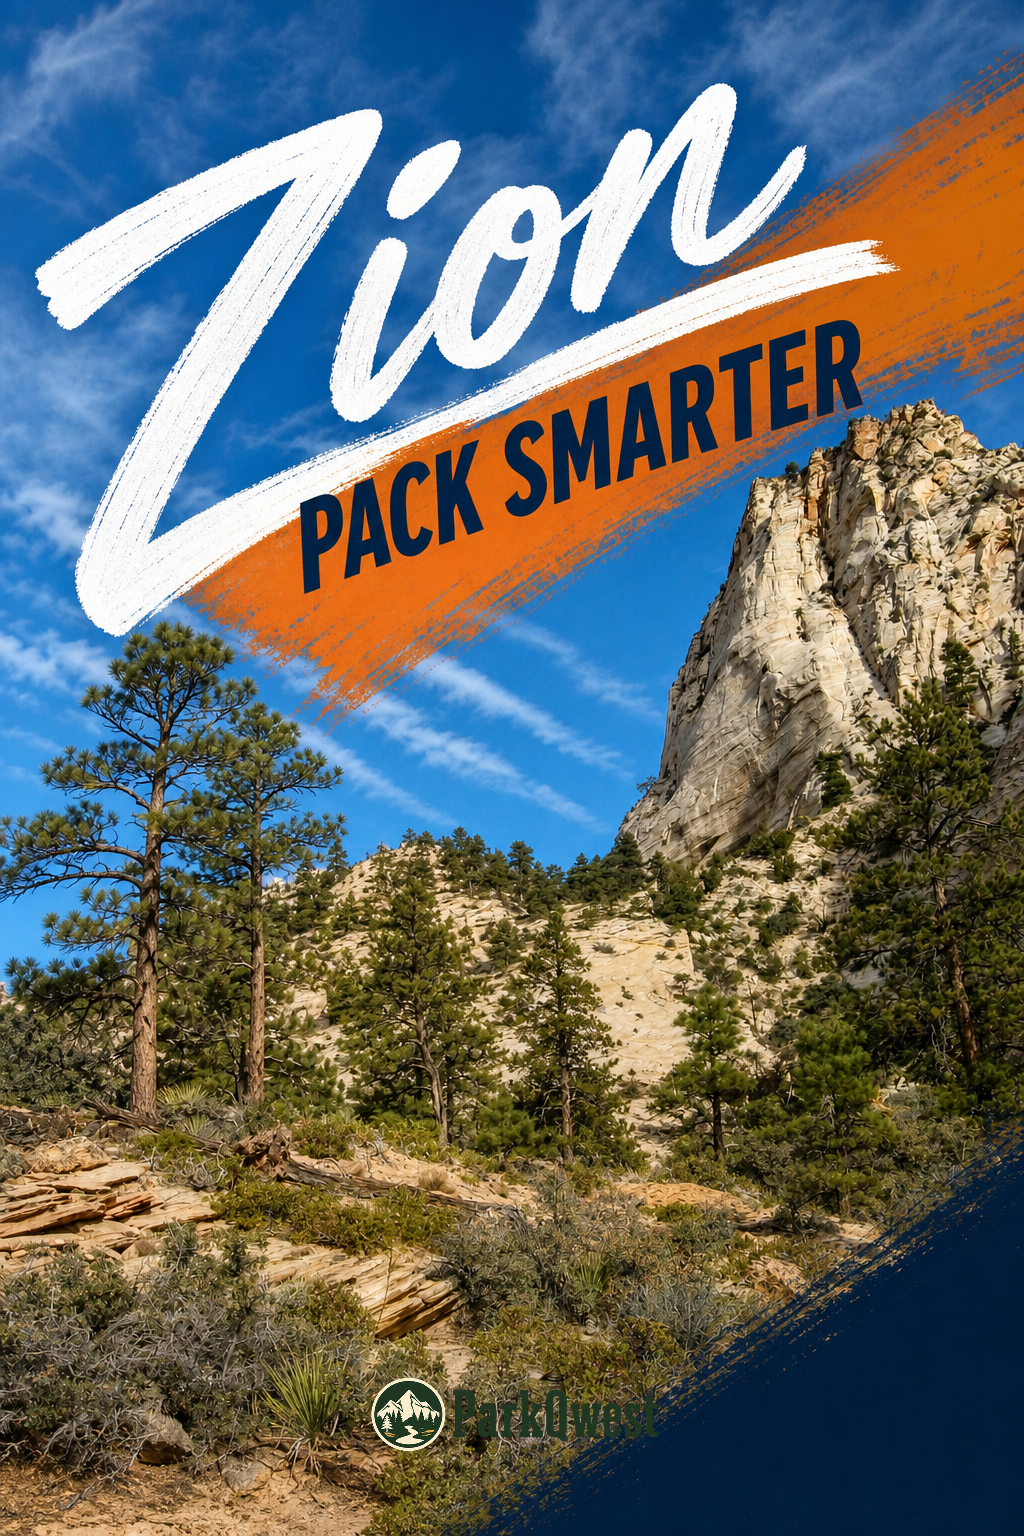
Zion National Park rewards a packing list built around contrast: deep shade and reflected heat, paved shuttle stops and uneven canyon walking, dry sandstone country and the possibility of sudden water hazards. Most visitors enter through the South Entrance near Springdale and use the Zion Canyon shuttle for much of the year, so the smartest kit is not a giant “just in case” load—it is a compact, weather-aware daypack that stays comfortable on a shuttle seat and works when temperatures swing more than 30°F between morning and evening.
Build Your Clothing Around Sun, Shade, and Temperature Swings
Zion’s cream, pink, and red sandstone cliffs reflect heat, especially in the warmer months. At the same time, canyon walls can create cool pockets of shade, and higher elevations may feel notably different from the main canyon. Pack layers that can move with you rather than one heavy outfit chosen for the forecast at your hotel.
The Zion clothing formula
- Lightweight sun shirt: A long-sleeve UPF-style shirt or thin breathable button-up gives better all-day protection than repeatedly applying sunscreen to shoulders and arms. It is especially useful when summer temperatures in Zion often exceed 100°F (38°C).
- Quick-drying base layer: Choose a moisture-wicking T-shirt, tank, or athletic top. Cotton is comfortable at breakfast but stays wet longer if you sweat, get caught in rain, or walk near water.
- Easy-on insulating layer: Bring a light fleece, packable synthetic jacket, or warm midlayer for cool starts, shaded canyon conditions, and evening shuttle rides. Zion’s day-to-night temperature difference can exceed 30°F (16°C).
- Sun-protective bottoms: Lightweight hiking pants, running tights, or shorts with a longer inseam are practical choices. Pants are often worth the extra coverage if you are prone to sunburn, abrasion, or chilly mornings.
- Rain layer: Carry a true waterproof shell during monsoon season, generally from mid-July into September, and whenever storms are forecast. A windbreaker helps with breeze but is not enough for sustained rain.
Quick take
For a typical Zion Canyon day, wear a breathable base layer, bring a light insulating layer, and keep a sun hat and rain shell within reach. The goal is to adjust without needing to return to your vehicle or lodging.
Footwear: Pack for the Surface You Will Actually Use
Your footwear decision should follow your planned terrain, not the most rugged shoe in your closet. Zion Canyon days can involve shuttle boarding, pavement, sandy paths, uneven rock, and potentially wet conditions. One dependable pair is often better than packing several bulky pairs you will not use.
- For dry, established walking: Broken-in trail runners or light hiking shoes with grippy soles are usually the practical default. They handle uneven ground without feeling overly hot or cumbersome on shuttle-heavy days.
- For ankle support: Mid-height hiking boots make sense if you already know they fit well and you are carrying extra weight. Do not buy stiff new boots immediately before the trip; Zion is not the place to discover heel rub halfway through the day.
- For possible water walking: Use footwear that drains, has secure heel retention, and provides traction. Avoid flip-flops, loose slides, and smooth-soled casual water shoes. Check the official NPS page for current route conditions and any water-related guidance before committing to a water-based outing.
- For camp or evening: A lightweight sandal can be useful, but treat it as a recovery shoe—not your primary walking shoe.
Pack two pairs of moisture-wicking socks per active day if your schedule includes long walks, heat, or water exposure. A dry replacement pair weighs very little and can rescue the last half of a day when feet are damp, sandy, or starting to blister.
What Belongs in a Zion Daypack
The shuttle system changes how you pack. For most of the year, the Zion Canyon Scenic Drive is open only to shuttle buses, with boarding at the Zion Canyon Visitor Center. That means your daypack should hold the essentials you need between stops, not a pile of items left in a car far from where your day unfolds.
- Water capacity: Carry more water than feels necessary at the trailhead, particularly in hot weather. A hydration reservoir plus one backup bottle works well because it makes frequent sipping easier.
- Electrolytes: Tablets, powder packets, or a salty snack are useful in high heat. Water alone is essential, but long sweaty days can leave you feeling depleted if you do not replace some salts and calories.
- Sun protection: Bring broad-spectrum sunscreen, SPF lip balm, sunglasses, and a brimmed hat. A hat with a chin strap is more useful than a loose fashion hat when wind or shuttle movement is involved.
- Navigation and battery: Download maps and reservation or permit details before entering areas with limited service. Carry a small power bank and cable; phone batteries drain quickly when they are used for photos, maps, and heat-related screen brightness.
- Basic first aid: Include blister treatment, bandages, pain medication you normally use, antiseptic wipes, and any personal medications. Add a compact elastic wrap if your group is hiking on uneven terrain.
- Headlamp: A small headlamp is a better emergency tool than relying on a phone flashlight. It is useful if a walk takes longer than expected or if you are returning after dusk.
Weather Exposure: Pack for Heat, Monsoon Storms, and Cold Edges
Zion’s weather is not a one-season story. Summer heat can be intense, winters are generally mild, and elevation changes make a single forecast incomplete. Check the official NPS website shortly before departure for current weather, road access, shuttle information, and alerts rather than relying on a saved social post or an old packing video.
| Condition | What to pack | Why it matters in Zion |
|---|---|---|
| Hot summer day | Extra water, electrolytes, sun shirt, hat, cooling cloth | Temperatures often exceed 100°F, and cliff-lined canyon settings can trap reflected heat. |
| Monsoon season | Waterproof shell, dry bag or zip pouch, weather alerts | Mid-July through September brings increased flash-flood risk and lightning potential. |
| Cool morning or winter visit | Fleece, warm hat, gloves, insulated bottle | Mild winter temperatures can still feel cold in shade, wind, and early or late hours. |
Storm rule worth remembering
A sunny start does not remove flash-flood or lightning risk. If storms are possible, do not pack around optimism: monitor official alerts, avoid committing to narrow drainage terrain when conditions are questionable, and keep rain protection and dry storage accessible.
Food and Water: Carry Enough to Make Good Decisions
Underpacking food and water can turn a manageable outing into a rushed one. Zion’s popular areas may feel close to services, but shuttle logistics, heat, and changing plans can stretch the time between reliable refill or food opportunities. Treat your daypack as your food security, not merely a place for snacks.
- Bring real food: Pack a lunch plus easy-access snacks such as nuts, jerky, fruit, crackers, nut-butter packets, or energy bars. Aim for a mix of carbohydrates, protein, and salty items instead of relying entirely on sweets.
- Protect food from heat: Use an insulated pouch for chocolate, medication-sensitive items, or a chilled drink. Heat-softened snacks are not dangerous, but they become much less appealing when you need calories most.
- Plan refill options carefully: Carry your starting supply even if you expect water availability later. Verify current refill locations and seasonal conditions through official park information before your visit.
- Pack out every scrap: Include a reusable zip bag for wrappers, fruit peels, and used wipes. Desert landscapes show litter quickly, and food scraps can affect wildlife behavior.
Safety, Family, and Photography Add-Ons
Pack safety tools according to your group, not just your itinerary. A couple traveling light may need only first aid and extra water; a family with young children benefits from more redundancy because sunscreen, snacks, dry socks, and patience all run out at different rates.
Small additions with a large payoff
- For families: Bring child-sized water capacity, sun hats that stay on, familiar snacks, a spare outfit, and a lightweight sit pad or picnic cloth. Keep one “waiting item” handy for shuttle queues: a small notebook, cards, or a quiet activity works better than digging through the whole bag.
- For photographers: Use a secure strap, lens cloth, spare battery, and a small protective pouch for dust and rain. A compact tripod may be useful where permitted, but do not let bulky gear become a safety problem on uneven ground or in crowded shuttle areas.
- For all groups: Carry identification, emergency contact details, and a printed backup of important reservations or permits if applicable. Verify current requirements for any specialized activity on the official NPS page.
What to Leave Behind
Leave behind anything that creates more risk, waste, or weight than value. Zion is a park where a streamlined pack often improves the day: easier shuttle boarding, fewer forgotten items, and more room for water.
- Disposable plastic bottles: Refillable bottles or a hydration reservoir reduce waste and make it easier to carry a meaningful water supply.
- Brand-new footwear: Blisters are a preventable itinerary killer.
- Heavy cotton layers: They are slow to dry and less adaptable across changing temperatures.
- Large coolers and oversized camera bags: They are awkward on shuttles and encourage overpacking for a day away from the car.
- Drone equipment: Do not assume recreational drone use is allowed; confirm current rules directly with the National Park Service before packing one.
Final Zion National Park Packing Checklist
- Wear: Breathable top, sun-protective bottoms, broken-in grippy shoes, moisture-wicking socks, and a secure hat.
- Carry: Water, electrolytes, lunch, snacks, sunscreen, sunglasses, lip balm, rain shell, insulating layer, and first-aid basics.
- Protect: Phone, camera, maps, and paperwork in a weather-resistant pouch or dry bag.
- Check: Current NPS weather alerts, flash-flood risk, lightning forecast, shuttle status, route conditions, and any required permits before leaving for the park.
- Pack out: All food scraps, wrappers, tissues, and gear—leaving the sandstone country as clean as the next visitor hopes to find it.
The best Zion packing list is not the longest one. It is the one that gives you enough water for heat, enough layers for canyon temperature changes, enough weather protection to respond sensibly to storms, and enough room in the daypack to move comfortably through a shuttle-based park day.
Before you go
- Review official alerts, closures, hours, and reservation requirements.
- Allow extra travel time and keep an alternate plan.
- Use official NPS information as the final authority.
Sources
- Zion National Park — official National Park Service site — National Park Service, accessed 2026-10-05
Continue planning Zion
Learn more about Zion and find other helpful guides, trails, and trip information in the ParkQwest guide.
ParkQwest is a QwestLyfe Community.
QwestLyfe helps you track your lifelong bucket lists, collections, recipes, and the places you've been. Document your experiences, add notes and pictures, and share them with your friends — and the world.