
Grand Canyon National Park: 3-Day Itinerary
Plan with current information. Conditions, roads, services, fees, and rules can change. Verify details with the National Park Service before your visit.
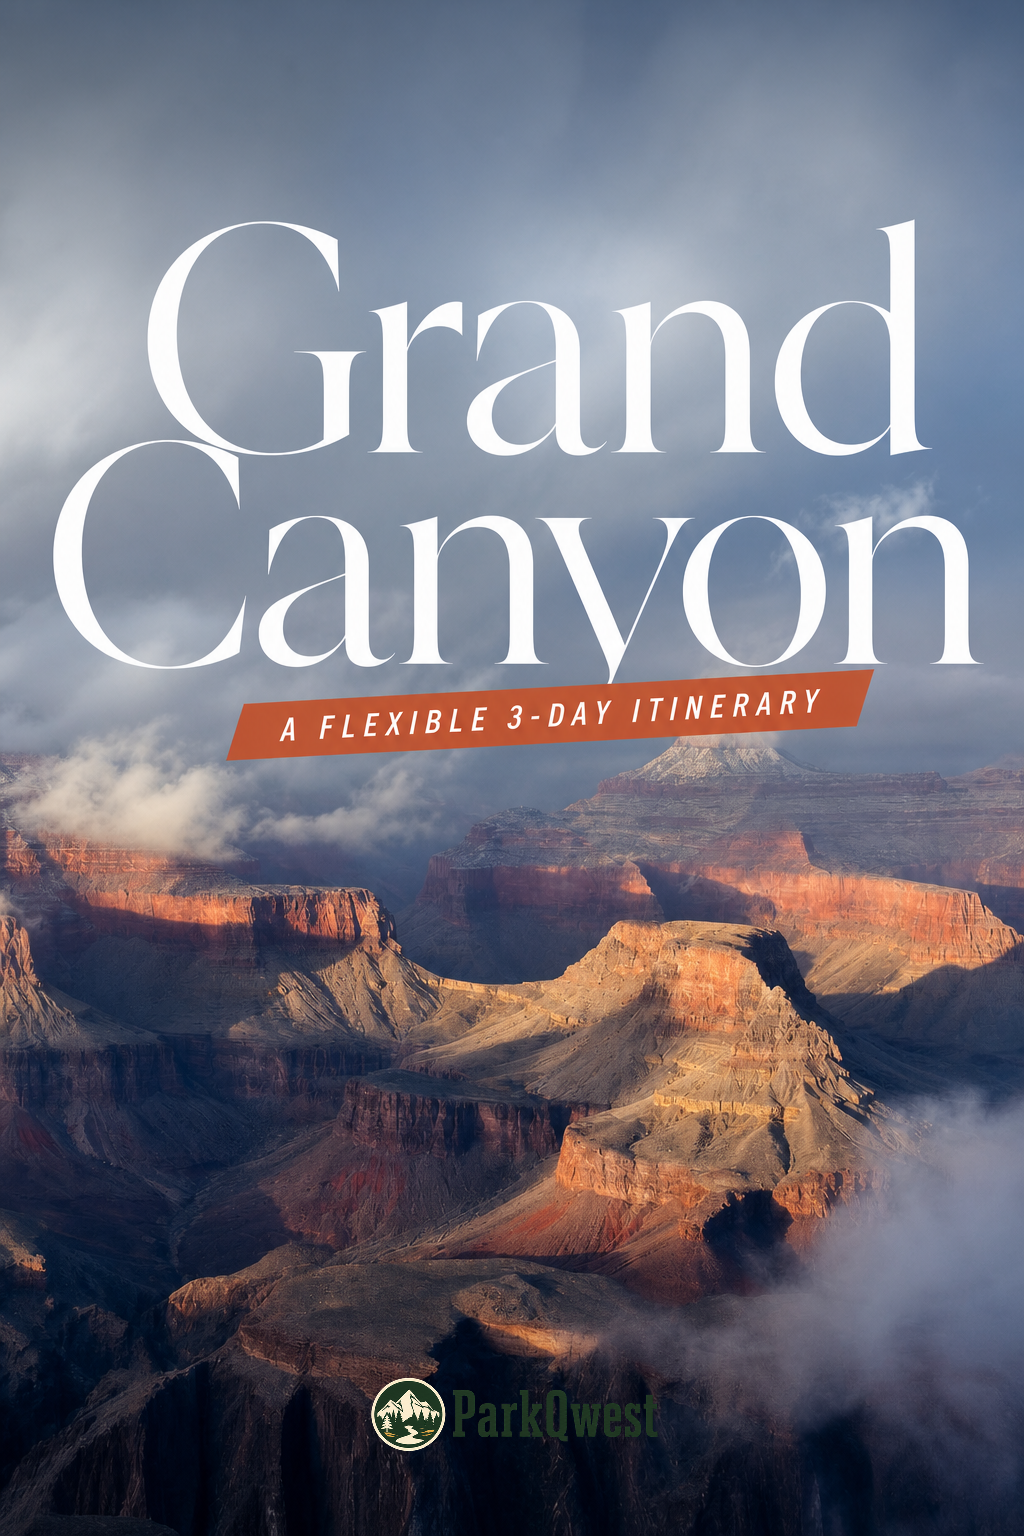
Grand Canyon National Park works best as a three-day trip when you resist the urge to “do the whole canyon.” The park spans 278 miles of the Colorado River and adjacent uplands, and the most practical first-trip plan is usually based on the South Rim, which is open year-round. This itinerary is built around a simple rhythm: use Day 1 to get oriented without burning out, give Day 2 to the canyon itself, and use Day 3 for a slower, more scenic finish. It leaves room for changing weather, tired legs, traffic, and the fact that a view can be more memorable when you are not rushing to the next one.
Quick take
Plan this as a South Rim itinerary unless you have independently confirmed North Rim access. The North Rim is seasonal, and the NPS notes that select areas may be open to public access only between October 1 and November 14. Check current news releases before building a trip around it.
How to use this three-day plan
Choose one base area and avoid unnecessary lodging changes. The South Rim is about 60 miles north of Williams via Route 64 from Interstate 40 and about 80 miles northwest of Flagstaff via Route 180, according to the National Park Service. Those are useful approach distances, but they are not a promise of a particular drive time; weather, construction, entry traffic, and stops all matter.
| Day | Main purpose | Energy level |
|---|---|---|
| Day 1 | Arrival, orientation, first rim views | Low to moderate |
| Day 2 | Walk or hike with a deliberate turnaround plan | Moderate to high |
| Day 3 | Scenic viewpoints, photography, and a calm departure | Low to moderate |
Think in elevation, not just season. Grand Canyon National Park ranges from roughly 2,500 feet at the bottom to 8,400 feet on the North Rim. The NPS warns that temperatures inside the canyon can run 20 to 30 degrees warmer than on the rims, while winter conditions on the rim can be cold and snowy. A warm-looking forecast for a nearby town is not enough information for a canyon hike.
Day 1: Arrive, learn the lay of the rim, and save your legs
Morning or early afternoon: Enter with a short list
Make your first stop practical rather than ambitious. Once you arrive at the South Rim, confirm the day’s conditions on the official NPS page or at available park information points: road access, shuttle or transit status if applicable, weather alerts, and any trail closures. This is also the moment to decide whether your Day 2 outing will be a rim walk, a short descent below the rim, or a more relaxed viewing day.
Do not begin with a long hike after a travel morning. Spend your first hour or two taking in several accessible rim viewpoints, noticing where services and restrooms are located, and getting a sense of wind, sun exposure, and crowd patterns. The canyon’s scale is easier to process when you give yourself time to look rather than trying to photograph every overlook.
Late afternoon: Take an easy rim walk
Use the rim for your first real movement of the trip. Choose a walk that lets you turn around whenever the light, weather, or energy level says so. A rim route is a smart Day 1 choice because it offers large views without committing you to the steep return climb that comes with going below the rim.
- Good Day 1 goal: Walk until the views begin to repeat, then turn back while you still feel fresh.
- Photo strategy: Stop at two or three places for longer stretches instead of collecting dozens of nearly identical images.
- Food strategy: Carry water and a substantial snack even on a short walk; arrival-day hunger has a way of making every decision feel harder.
Evening: Sunset, dinner, and an early reset
Choose one sunset location and arrive ahead of the last-minute crowd. The goal is not to find a secret spot; it is to be somewhere safe, warm enough, and unhurried when the light changes. Bring an extra layer even in warmer months, because rim conditions can feel different once the sun drops and wind picks up.
Eat a real dinner after sunset rather than treating trail snacks as dinner, especially if Day 2 includes a hike. Then review the forecast, charge devices, refill water containers, and set out the next day’s layers. This modest bit of preparation protects your morning from becoming a scavenger hunt.
Alternate for weather or closures
If wind, lightning, snow, or low visibility limits walking, make Day 1 a planning-and-viewing afternoon. Keep stops short, stay close to open developed areas, and use breaks in the weather for brief rim looks rather than committing to exposed routes. If conditions remain poor, move the longer outdoor portion of this day to Day 3 and preserve Day 2 for whichever weather window is safest.
Quick take
Your first sunset is not the night to prove your endurance. Arriving rested, knowing where you are, and having water for tomorrow will improve the trip more than squeezing in an extra mile on Day 1.
Day 2: Give the canyon your strongest day
Morning: Start with the activity that has consequences
Use the coolest, clearest part of the day for your longest walk or hike. If you plan to go below the rim, choose a route and turnaround point only after checking current NPS conditions. Do not judge the day solely by the temperature at the rim: the NPS specifically notes that the inner canyon can be dramatically warmer.
The key decision is not “How far down can we get?” It is “How much uphill effort, water, and heat exposure do we want to take on after turning around?” Descending often feels easier than it really is; the return is the part that determines whether the outing remains enjoyable.
- Set a turnaround rule before starting: Use a time, water amount, or energy threshold—not a scenic milestone alone.
- Eat before you feel depleted: Have breakfast, carry salty snacks and calories, and take small breaks rather than one late collapse.
- Protect the middle of the day: If heat builds, shorten the route and return to the rim instead of trying to “earn” the original plan.
Afternoon: Recover on purpose
Build a recovery block into the itinerary, not as a backup plan. After a substantial hike, eat lunch, drink steadily, cool down, and spend time off your feet. This is when many visitors make the trip harder by immediately adding another major walk because they still have daylight left.
If you chose a lighter morning rim walk, the afternoon can become your scenic exploration window. Use park transportation if it is operating and suits your plan, or drive only where current conditions allow; verify routes, parking rules, and service status on the official NPS page rather than assuming a previous season’s information is current.
Evening: A low-stakes second look
Make tonight’s viewpoint visit optional. If you are energized, return to the rim for changing late-day light from a location different from Day 1. If your group is tired, eat early and rest; tomorrow’s slower design means you are not missing the entire park by skipping a second sunset.
Alternate for weather or closures
If below-rim travel is closed, unsafe, or unappealing, turn Day 2 into a rim-and-viewpoint day with several short walks. You can still create a satisfying “big day” by pairing a morning rim section, a long lunch and rest, then a second scenic area later in the day. In snow, ice, extreme heat, or thunderstorms, the win is choosing stable footing and conservative exposure—not completing a planned route.
Day 3: See the canyon wide, then leave without rushing
Morning: Use the light and quiet for your final scenic loop
Day 3 is for breadth rather than exertion. Revisit the part of the rim that stayed with you most, then explore a different direction or set of viewpoints if roads and access are open. This is the best day for people who want photographs, geology-focused observation, or a gentler pace after a hiking day.
Try one useful viewing exercise: spend ten minutes at a single overlook without taking a photo. Look for the Colorado River far below, the changing layers of rock, and how distances distort across the canyon. Grand Canyon National Park is one of the world’s clearest examples of erosion, but its story lands better when you pause long enough to see scale rather than just spectacle.
Afternoon: Pack a buffer into departure day
Leave your last park hours uncommitted. Check out of lodging, refuel where practical, eat lunch, and allow time for a final stop before beginning the drive toward Williams, Flagstaff, or your next destination. A buffer is especially valuable in winter weather, summer heat, or any period when road and parking conditions may change.
Alternate for weather or closures
If the morning forecast is the best window of the trip, swap this day’s scenic focus with any missed outdoor time from Days 1 or 2. Conversely, if weather closes in, use the departure day for one brief safe viewpoint stop and leave earlier rather than forcing a final activity. The most successful three-day Grand Canyon itinerary is not the one with the fullest checklist; it is the one that gives the canyon, the forecast, and your energy level equal weight.
Before you go
- Review official alerts, closures, hours, and reservation requirements.
- Allow extra travel time and keep an alternate plan.
- Use official NPS information as the final authority.
Sources
- Grand Canyon National Park — official National Park Service site — National Park Service, accessed 2026-08-26
Continue planning Grand Canyon
Learn more about Grand Canyon and find other helpful guides, trails, and trip information in the ParkQwest guide.
ParkQwest is a QwestLyfe Community.
QwestLyfe helps you track your lifelong bucket lists, collections, recipes, and the places you've been. Document your experiences, add notes and pictures, and share them with your friends — and the world.