
Glacier National Park: Easy Trails & Scenic Stops
Plan with current information. Conditions, roads, services, fees, and rules can change. Verify details with the National Park Service before your visit.
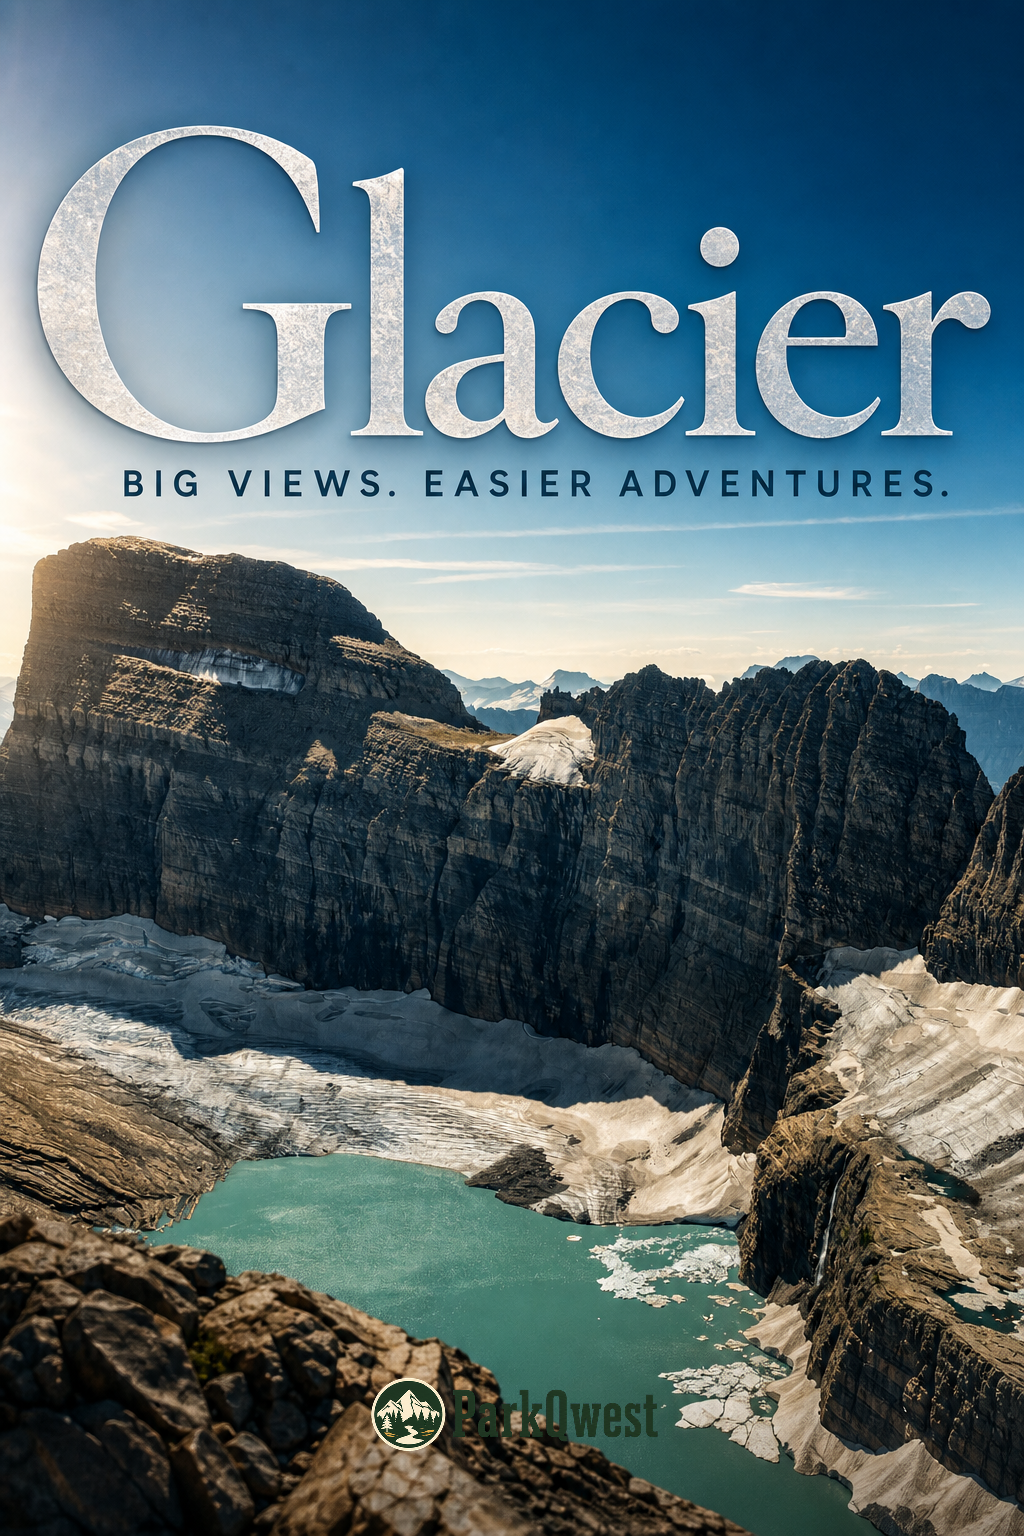
Glacier National Park can be deeply rewarding without building your day around long trail mileage. The park’s big visual moments often come from the relationship between the road, the valleys, the lakes, and the mountains—not from pushing to a remote destination. A lower-effort plan works best when you treat Going-to-the-Sun Road, developed areas, and short out-and-back walks as a menu: stop often enough to enjoy the landscape, but not so often that driving, parking, and weather changes turn the day into a scramble.
Start With a “Scenic Basecamp” Strategy
Glacier National Park spans a large, mountainous area in northwest Montana, with Highway 2 along the southern boundary and Highway 89 providing access toward the east side. That geography matters for easy-going visitors: crossing the park, backtracking between entrances, or trying to see every region in one day can use up far more energy than a modest walk.
Choose one side or one corridor for the day, then build a loose sequence of overlooks, lakeside pauses, historic developed areas, and one or two short walks. Going-to-the-Sun Road is the obvious scenic backbone when it is open and practical for your trip, but road access and conditions can change with weather, season, maintenance, and other park operations. Check the official NPS page before committing your itinerary to any particular segment or vehicle plan.
Quick take
For a relaxed Glacier day, aim for fewer “must-see” stops and longer pauses at the ones you reach. One scenic drive corridor, one short walk, one sit-down lake or valley view, and a weather buffer is a stronger plan than a long checklist.
Think in clusters, not pins on a map
A practical cluster has a parking area or developed stop, a viewpoint nearby, and an optional short walking extension. If parking is busy, you can still take in the scene from the developed area and move on; if the weather is pleasant and your group feels good, take the longer of the available short walks.
- Drive-first travelers: Build the day around overlooks and pullouts, with brief walks only when they add a different angle rather than simply more distance.
- Mixed-ability groups: Pair every walk with a nearby place where non-walkers can rest, use facilities if available, or enjoy the view without waiting in the vehicle.
- Energy-conscious travelers: Put the most important stop early, when legs, patience, and weather are usually more cooperative.
- Photography-minded travelers: Leave room to revisit a viewpoint if clouds, glare, wind, or parking make the first stop less satisfying.
How to Judge a “Short Walk” Before You Leave the Car
A short distance is not automatically an easy experience in Glacier. The park’s terrain is mountainous, and the elevation, weather, surface, and exposure can make a brief route feel much more demanding than its map length suggests. When looking at official trail or visitor information, use effort signals—not mileage alone.
Read the route through five practical questions
- What is the grade? A gradual path lets most people settle into a rhythm; a steep climb can be tiring quickly, especially at elevation. Look for elevation-gain information or language such as “steep,” “climb,” “switchbacks,” or “rolling.”
- What is underfoot? Pavement, compacted gravel, packed dirt, rock, roots, loose stones, mud, snow, and ice create very different walking experiences. A rough surface can be the limiting factor even when the route is nearly level.
- Are there stairs or narrow sections? Stairs concentrate effort, while narrow or uneven edges can make people uncomfortable even without a major ascent. Official descriptions and recent condition notices are more useful than a single “easy” label.
- How exposed is it? Glacier’s weather is highly variable. A sunny stretch may feel warm, while wind, rain, or rapidly cooling conditions near the Continental Divide can make an open viewpoint much less pleasant.
- Where can you turn around? Identify a natural turnaround point before beginning. A viewpoint reached after 10 comfortable minutes may be enough; there is no prize for continuing when the return walk will feel like work.
For many travelers, the best short-walk pattern is one meaningful destination plus an easy exit: walk toward a lake edge, valley view, historic building, or overlook; pause; then return before fatigue builds. Avoid treating every stop as a hike. Sometimes the most restorative choice is a five-minute walk from the parking area followed by a longer sit with a view.
Quick take
Before any short walk, check the route’s surface, grade, stairs, shade, weather exposure, and turnaround options. If the official description does not answer those questions, treat the route as an unknown rather than assuming it will be easy.
Build Rest Into the Route, Not Around It
Glacier’s scenery rewards unhurried looking. A schedule that allows for sitting, layering up, drinking water, and simply watching changing light will often feel fuller than one packed with trailheads. Plan rests as actual itinerary stops, especially if your group includes children, older travelers, anyone managing pain or mobility limits, or people adjusting to mountain elevation.
| When you need a break | Better choice | Why it works |
|---|---|---|
| After a scenic drive segment | Choose a developed stop or overlook | You can reset before deciding whether to walk farther. |
| During a warm, sunny spell | Prioritize water, shade if available, and a shorter exposed walk | Warm weather can make even gentle walking feel harder. |
| When clouds or wind build | Keep the next stop close to the vehicle | Glacier’s mountain weather can shift comfort quickly. |
A small comfort kit changes the day
- Layers: Bring a warm layer and rain protection even if the morning begins sunny; Pacific and Arctic air masses meet around the Continental Divide, producing fast-changing conditions.
- Footwear: Use shoes with dependable traction rather than assuming a short path will be smooth or dry.
- Water and snacks: Keep them reachable in the car, not buried in luggage. Regular small breaks are easier than waiting until someone is depleted.
- A seat plan: If standing at overlooks is difficult, bring a compact camp chair where appropriate and use developed areas rather than trying to rest along a narrow trail.
- Offline basics: Save key NPS information, directions, and a park map before entering mountain areas where connectivity may be unreliable.
Accessibility: Verify the Exact Place, Not the General Idea
It is reasonable to seek low-barrier scenery in a national park, but it is not useful to assume that a viewpoint, visitor area, trail, restroom, shuttle option, or parking lot meets a particular accessibility need. Accessibility is site-specific: the route from parking to the view, curb cuts, grades, surface conditions, door access, seasonal closures, and available facilities can all affect the experience.
Before your visit, use the official Glacier National Park website to verify current accessibility details for the exact location you intend to use. Look for NPS information on accessible facilities, parking, trail surfaces and grades, transportation, temporary closures, and any current alerts. If the details are incomplete, contact the park directly with practical questions such as the distance from accessible parking to the viewpoint, whether the route includes stairs, and what the surface is like now.
Do not let one uncertain stop dictate the entire day. Keep a nearby developed-area alternative in mind, so a closed path, full lot, rough surface, or sudden weather shift becomes a simple pivot instead of a trip-ending disappointment.
A Relaxed Glacier Day: A Flexible Sample Rhythm
This is not a named-route checklist; it is a pacing model that works well for visitors who want Glacier’s lakes, valleys, alpine setting, and historic-road atmosphere without a strenuous agenda.
- Morning: Enter from the side of the park closest to your lodging and make your highest-priority scenic-drive or developed-area stop first. Spend time looking before taking photos; it helps the group decide whether a short walk is worth the effort.
- Late morning: Choose one official short-walk option only after reviewing its current conditions, grade, surface, and weather exposure. Turn around at the first satisfying viewpoint if the route becomes steeper, rougher, or more crowded than expected.
- Midday: Take a proper rest at a developed area or scenic pullout. Eat, refill water, adjust layers, and check the NPS site or alerts for road and weather changes before driving farther.
- Afternoon: Continue with one or two drive-up views and one optional brief stroll near a lake, valley, or historic area. Keep the final stop simple so you are not racing changing weather or daylight.
The goal is not to cover Glacier National Park in a day. It is to leave with enough energy to notice the carved valleys, mountain lakes, alpine meadows, and the drama of the Continental Divide—then enjoy the drive back rather than recovering from the itinerary.
Before you go
- Review official alerts, closures, hours, and reservation requirements.
- Allow extra travel time and keep an alternate plan.
- Use official NPS information as the final authority.
Sources
- Glacier National Park — official National Park Service site — National Park Service, accessed 2026-08-16
Continue planning Glacier
Learn more about Glacier and find other helpful guides, trails, and trip information in the ParkQwest guide.
ParkQwest is a QwestLyfe Community.
QwestLyfe helps you track your lifelong bucket lists, collections, recipes, and the places you've been. Document your experiences, add notes and pictures, and share them with your friends — and the world.