
Yellowstone National Park: Easy Trails & Scenic Stops
Plan with current information. Conditions, roads, services, fees, and rules can change. Verify details with the National Park Service before your visit.
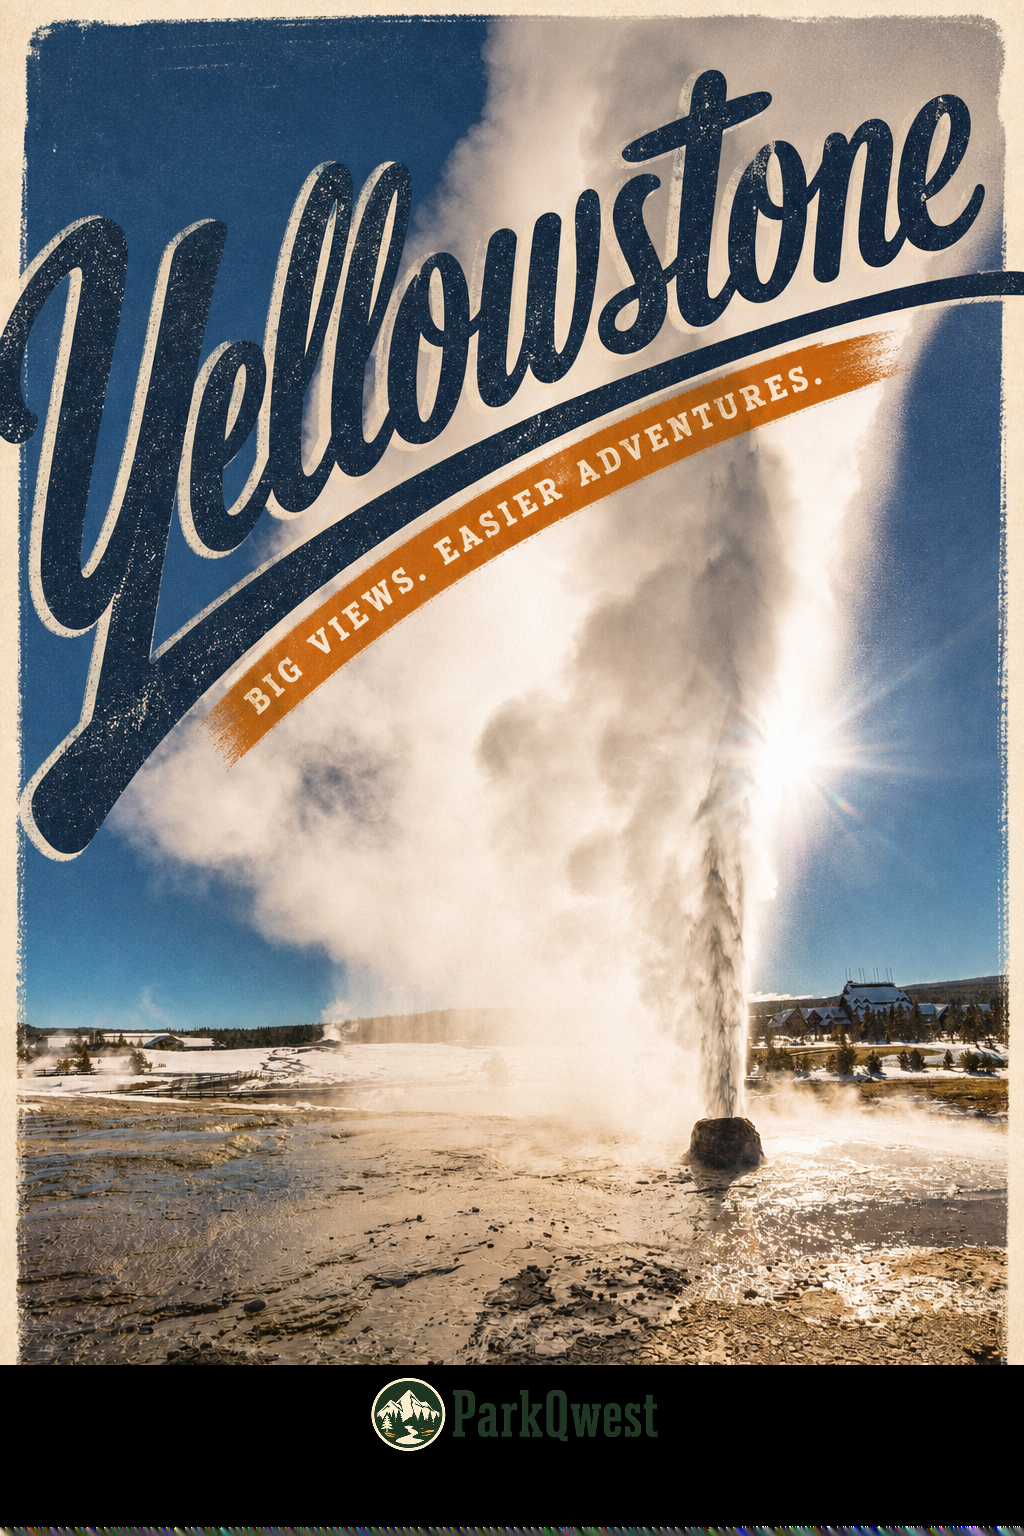
Yellowstone National Park is large enough that an “easy day” depends less on ambition than on how you arrange the driving, stops, and recovery time. The park covers nearly 3,500 square miles across Wyoming, Montana, and Idaho, and travel between entrance areas can take many hours. For lower-effort sightseeing, the smartest approach is not trying to see every headline view: it is choosing one geographic slice of the park, pairing a few developed-area stops with short walks, and leaving enough margin to enjoy the scenery without turning the day into a series of rushed parking-lot exits.
Build an easy Yellowstone day around a compact driving loop
Think of Yellowstone as a collection of scenic zones connected by roads, rather than a single place you can casually cross in an afternoon. Driving is part of the itinerary here, not merely the transportation between activities. A day that looks short on a map can become long once you account for traffic, pullouts, road conditions, wildlife-related slowdowns, weather, restroom breaks, and the time it takes to walk from a parking area to a viewpoint.
Before choosing stops, begin with the entrance you expect to use and check the official NPS Yellowstone page for current road status. Yellowstone has five entrance stations, and several are closed to regular vehicles in winter. That matters even for travelers planning only easy walks: an entrance closure or road restriction can completely change which developed areas are practical.
- Choose one direction: Plan your sightseeing around one corridor or one cluster of developed areas rather than trying to connect distant landmarks.
- Use a “three-stop” rule: Pick one priority scenic stop, one secondary stop, and one optional stop. If parking, weather, or energy levels are poor, drop the optional stop without losing the day.
- Put your longest short walk first: Do the most substantial boardwalk, overlook approach, or paved-path outing when legs, attention, and patience are freshest.
- Save a low-commitment stop for late day: A roadside viewpoint, brief interpretive area, or short flat path is easier to enjoy after a long drive than another major loop walk.
Quick take
For an easier Yellowstone day, measure success by how calm the schedule feels—not by the number of pins checked off. One concentrated area, three well-chosen stops, and a real break will usually feel better than an all-park driving mission.
What “easy” actually means at a scenic stop
A short walk is not automatically a low-effort walk. In Yellowstone, a viewpoint approach may be brief but still involve stairs, a sloped walkway, uneven pavement, exposed boardwalk, altitude, heat, wind, or a long distance from the parking area. Evaluate the approach, not just the mileage.
Use this five-part trail check
When reviewing a short walk or developed viewing area on the official NPS website, look beyond the headline description. If the page does not answer a question that matters to your group, treat that as a reason to verify by phone or through current park updates rather than assuming the route will suit everyone.
- Grade: Ask whether the route is level, gently rolling, or consistently uphill. A modest rise can feel much harder at Yellowstone’s elevation, especially after time in the car.
- Surface: Pavement, packed gravel, boardwalk, dirt, and broken or uneven surfaces all create different demands. Wet weather can change traction and comfort quickly.
- Stairs: A scenic overlook with steps may be perfectly manageable for one traveler and a hard no for another. Check whether there is a separate step-free viewing option; do not assume one exists.
- Shade and exposure: Open terrain can feel surprisingly hot in sun, cold in wind, or uncomfortable during a fast-moving storm. A route with little shade needs more water, sun protection, and a shorter tolerance window.
- Elevation and breathing room: Even gentle walking can feel different at altitude. Build in slow starts, pause points, and an easy turnaround decision.
For travelers using mobility devices, traveling with a stroller, managing joint pain, or simply avoiding uneven terrain, accessibility information should be confirmed stop by stop. Check the official NPS accessibility guidance and the individual destination page close to your visit, because route surfaces, construction, temporary closures, and seasonal conditions can change. A developed area may have accessible features without every viewpoint, loop, restroom route, or adjacent path being equally usable.
Use viewpoints as a pattern, not a checklist
The easiest Yellowstone sightseeing rhythm alternates between looking and walking. Instead of stacking several moderate outings back-to-back, plan a short path after a drive, then a seated or near-the-car scenic pause, then another short path. Your legs recover better when the landscape comes in different formats.
- Arrival stop: Choose a place where the view, orientation signs, or nearby facilities are close to the parking area. This gives everyone a chance to reset after driving.
- Primary walk: Take one short developed-route walk with a clear destination—a viewing area, interpretive feature, or scenic overlook—rather than wandering until the group is tired.
- Rest stop: Eat, refill water where available, use restrooms, and check the sky before committing to another walk.
- Optional second walk: Only add this if the first route felt easier than expected and road timing still works.
- Drive-out viewpoint: Finish with a short, low-pressure stop near the direction you are already traveling.
This approach also helps mixed-energy groups. The travelers who want more time can linger at exhibits or viewpoints while those who need a break sit, hydrate, organize layers, or enjoy the view without being stranded far down a trail.
Quick take
At every stop, decide the turnaround point before you start walking. An easy outing stays easy when the group can stop at the first good view rather than feeling obligated to complete every loop or reach every signed feature.
Plan for weather as part of the walking difficulty
Yellowstone’s weather can shift dramatically within a single day. NPS notes that summer daytime highs can exceed 70°F (21°C), then drop by 20 degrees or more when a thunderstorm moves through; snow is possible in every month of the year. A route that feels mild in sunshine can become exposed and chilly fast, particularly if the group is dressed for the temperature at the hotel or trailhead rather than the conditions at the viewpoint.
| Condition | Low-effort adjustment |
|---|---|
| Warm, sunny stretch | Walk earlier, choose shorter exposed routes, carry water, and use a shaded or indoor break where available. |
| Thunderstorm risk | Prioritize stops close to the vehicle and avoid building the day around a long exposed walk. |
| Cold wind or sudden temperature drop | Add insulating layers before the walk, not after the group is chilled, and shorten the time spent standing at open viewpoints. |
| Snow, ice, or wet surfaces | Recheck current NPS conditions and favor routes whose surface and access details are clearly confirmed for that day. |
Pack a warm jacket and rain gear even in summer, as NPS recommends. Add sun protection, water, snacks, any personal mobility support you use regularly, and footwear with dependable traction. The goal is not to overpack for a short stop; it is to avoid turning a pleasant 20-minute walk into an uncomfortable one because the weather changed.
A relaxed sample route framework
This is intentionally a planning pattern rather than a named route, because the best choice depends on your entrance, road status, season, and the current information published by NPS. Use it to build a day that has room for the park instead of forcing the park to fit a rigid schedule.
- Morning: Enter through the entrance confirmed open for your travel date. Drive directly to one developed scenic area in your chosen section of the park, stopping only for a restroom or an especially convenient roadside pullout.
- Late morning: Complete your day’s main short walk. Before leaving the vehicle, check the route’s grade, surface, weather exposure, and current notices on official park information.
- Midday: Take a proper sit-down break or picnic-style pause in a developed area. This is the best time to assess whether the group wants another walk or prefers scenic driving.
- Afternoon: Add one brief viewpoint or interpretive stop close to your return direction. If storms build, energy dips, or parking is difficult, convert this portion into a drive with only near-car pauses.
- Exit: Leave earlier than your map instincts suggest. Yellowstone’s size means the drive back to an entrance or overnight base is often the final substantial activity of the day.
Finally, check the official Yellowstone National Park page before departure and again on the morning of your visit for road and entrance conditions. A relaxed plan is not an under-planned plan; it is one designed around the realities of a huge park, variable weather, and the simple pleasure of having enough energy left to enjoy the last view.
Before you go
- Review official alerts, closures, hours, and reservation requirements.
- Allow extra travel time and keep an alternate plan.
- Use official NPS information as the final authority.
Sources
- Yellowstone National Park — official National Park Service site — National Park Service, accessed 2026-08-16
Continue planning Yellowstone
Learn more about Yellowstone and find other helpful guides, trails, and trip information in the ParkQwest guide.
ParkQwest is a QwestLyfe Community.
QwestLyfe helps you track your lifelong bucket lists, collections, recipes, and the places you've been. Document your experiences, add notes and pictures, and share them with your friends — and the world.