Yellowstone National Park: First-Trip Guide
Plan with current information. Conditions, roads, services, fees, and rules can change. Verify details with the National Park Service before your visit.
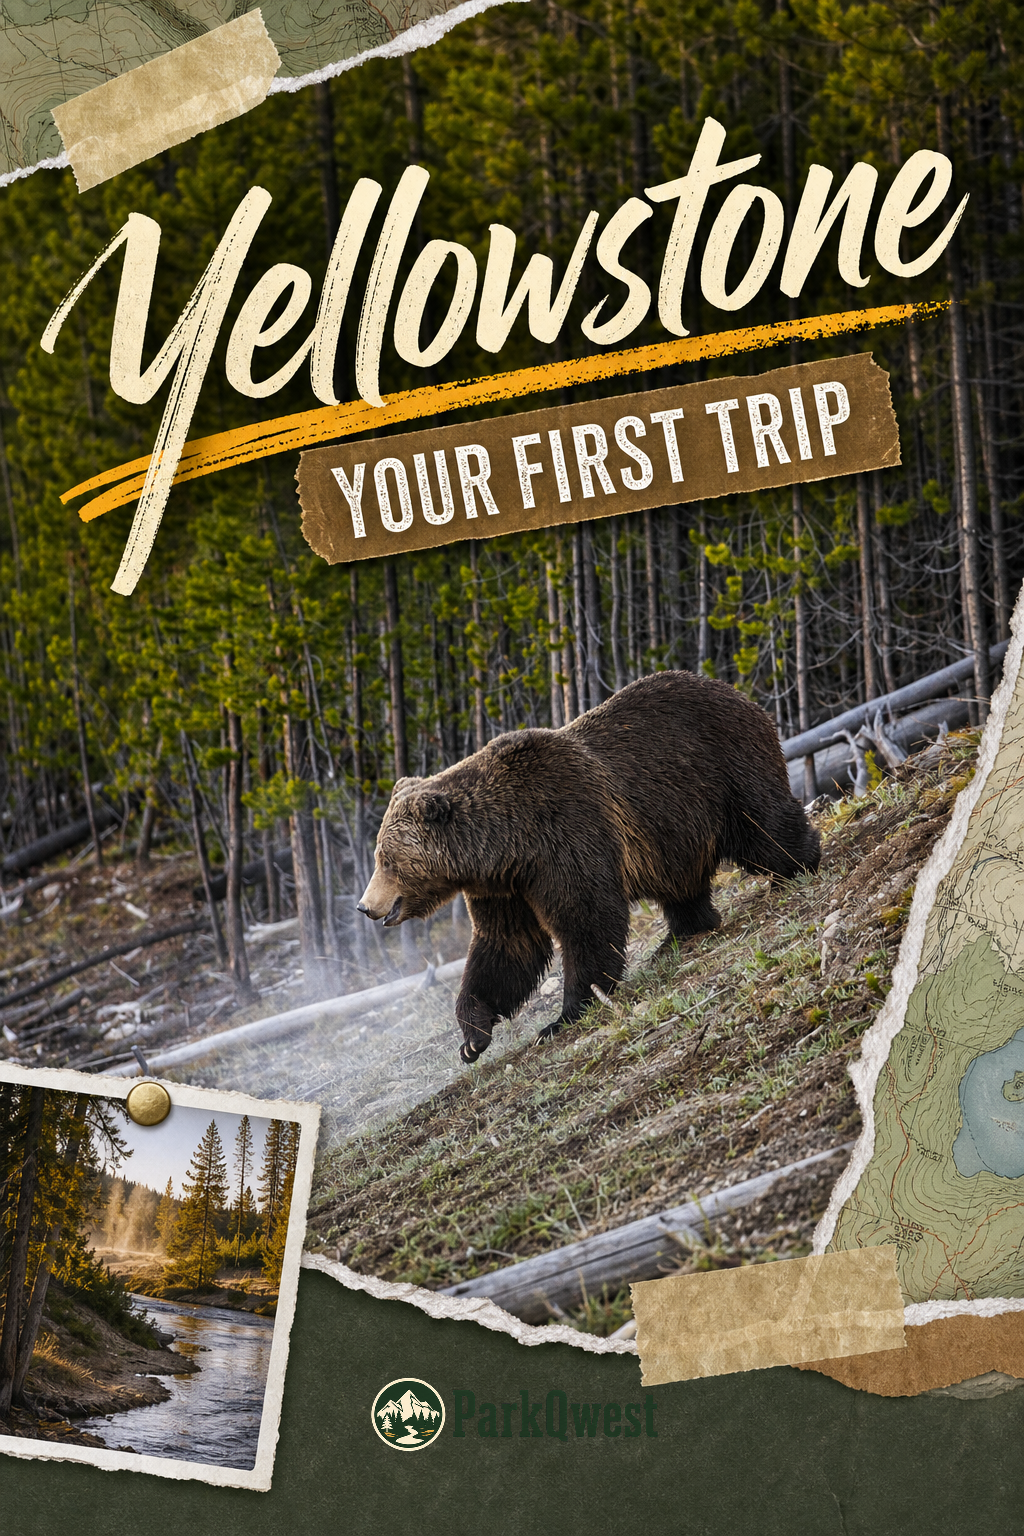
Yellowstone National Park is not a park you “knock out” between breakfast and dinner. It covers nearly 3,500 square miles across Wyoming, Montana, and Idaho, with five entrance stations and driving times that can consume much more of a day than a map suggests. A good first visit is less about collecting every famous sight and more about building a route around one part of the park, leaving room for stops, wildlife slowdowns, changing weather, and the simple fact that Yellowstone asks you to move at a slower pace.
What makes a first Yellowstone trip different
The park’s main attraction is its concentration of active geology and wild landscape in one enormous road network. A morning can include steaming thermal ground, a wide open valley, a forested drive, a canyon viewpoint, and a bison-caused traffic pause without ever feeling like you have entered a different park. That variety is exactly why first-timers tend to underestimate how much time Yellowstone requires.
Think of the park as a series of large regions connected by roads, not as one compact attraction with a central parking lot. The best planning question is not “What can we see?” but “Which area deserves our unhurried attention today?” That shift prevents the classic first-trip mistake of spending most of the day in the car trying to link distant highlights.
Quick take
For a first visit, choose one major corridor or region per day. Yellowstone’s scale makes “just one more stop” a costly decision when it adds a long drive, parking search, and return trip.
Organize the visit around geography, not a wish list
Start with your entrance and your overnight location, then build outward. Yellowstone has five entrance stations, but entrance access and road conditions can change, particularly in winter when several entrances are closed to regular vehicles. Before assigning any stops, check the official NPS page for the entrance you intend to use and the current road status.
Choose a base that protects your time
Where you sleep shapes the trip more than most first-time visitors expect. An in-park lodging or camping option can reduce daily driving, while a gateway-community stay may offer more outside-the-park conveniences but can add a substantial commute depending on the entrance and the day’s destination.
- Inside the park: Best for travelers who want early starts, less backtracking, and the ability to divide the park into manageable sections. Confirm lodging, campground, food, fuel, and seasonal operations directly with NPS or the relevant official concessioner information.
- Near one entrance: Best when you have a clear arrival direction and a focused plan for the adjacent area. It is less efficient if you expect to cross the park repeatedly.
- Split bases: Worth considering on a longer first trip if your plans span widely separated parts of Yellowstone. The tradeoff is moving luggage versus saving hours of return driving.
A base is not automatically “central” just because it looks central on a map. Roads curve around terrain and attractions, traffic can be slow, and pullouts often create unexpected stops. Use the official map and current road information to test each day in the direction you will actually travel.
Make one “anchor” the priority
Each day needs an anchor experience: a thermal basin walk, a major waterfall or canyon viewpoint area, a wildlife-focused valley drive, or a longer hike if conditions and your group support it. Add two or three nearby secondary stops, not ten scattered pins. If parking is busy or a boardwalk area is crowded, you still have a satisfying day because the anchor—not the checklist—was the point.
Arrival day: orient first, optimize later
Use your first hours in Yellowstone to learn the park’s rhythm. Pick up current information, review closures and construction notices, ask about road conditions, and identify where basic services are available along your intended route. This is especially useful when arrival is late, weather is unsettled, or your navigation app offers a route that does not account for seasonal access.
On arrival day, choose a short scenic drive, an accessible overlook, a brief thermal-area walk, or another low-commitment stop near your entrance or lodging. Save the day’s biggest drive for after you understand where you are sleeping, how long roads are taking, and what the weather is doing.
Quick take
Do not treat your arrival route as a transfer day with no consequences. In Yellowstone, getting from an entrance to your overnight base may already be a significant scenic drive, with road status and traffic affecting the plan.
Signature experiences worth building around
Yellowstone is strongest when you combine one close-up experience with one wide-landscape experience. Boardwalks and designated paths around hydrothermal features offer the chance to see the park’s geothermal energy safely and directly. Valley overlooks, waterfall areas, canyon viewpoints, and open-road drives provide the scale that makes those close-up stops feel part of a larger ecosystem.
- Thermal areas: Give these more time than a quick photo stop. Stay on designated walkways and follow all posted safety guidance; thermal ground can be dangerous even where it looks solid.
- Wildlife viewing: Treat it as observation, not a timed attraction. Bring patience, maintain required distance, never approach or feed animals, and expect that animals may be absent—or may cause traffic to stop.
- Waterfall and canyon viewpoints: These are excellent first-trip anchors because they create a clear visual payoff without requiring an all-day hike. Check official information for trail conditions and access before committing to a particular route.
- Short walks: A modest walk can be the difference between seeing Yellowstone from a vehicle and actually feeling its terrain. Choose based on current conditions, daylight, elevation comfort, and your group’s ability rather than an internet ranking.
The most useful wildlife mindset is “be ready, not entitled.” Keep binoculars or a zoom lens handy if you have them, pull over only where it is legal and safe, and do not create a roadside crowd. A distant animal observed responsibly is a better Yellowstone memory than a close encounter that stresses wildlife or puts people at risk.
Plan for a slower day than the map promises
Yellowstone’s weather can shift sharply within hours. The National Park Service notes that summer daytime highs can exceed 70°F (21°C) and then fall by 20 degrees or more during a thunderstorm; snow is possible in every month, while winter nights frequently fall below 0°F (-18°C). Carry a warm layer and rain gear even on a summer day that begins clear.
That weather variability affects more than comfort. It can change the appeal of a long walk, visibility at a viewpoint, road conditions, and how long your group wants to remain outside. Build your day with a “must do,” a “nice if conditions cooperate,” and an indoor-or-short-stop fallback such as a visitor facility or a brief nearby feature, subject to current operating information.
Three mistakes that make Yellowstone feel harder than it needs to
- Trying to enter from one side and exit from another without checking the full route: The park is vast, and roads or entrances may not be available as assumed. Verify your actual route before arrival and again on travel day.
- Scheduling every hour: Parking, construction, wildlife traffic, weather, meals, and impromptu pullouts all consume time. A plan with margins is more useful than an ambitious spreadsheet.
- Assuming summer means stable warmth: Yellowstone’s elevation and storms make layers and rain protection practical, not overly cautious.
A practical first full day
This is a shape for a day, not a rigid itinerary. It works whether you are staying inside the park or entering from a nearby gateway, because it prioritizes one area instead of asking you to cross Yellowstone twice.
- Start with current conditions: Check the official NPS page for road status, weather alerts, closures, and any safety notices before leaving your lodging.
- Drive to one anchor area: Arrive with enough time to park, walk the full designated route or viewpoint sequence, and pause rather than rushing from sign to sign.
- Have lunch near your route: Avoid building the middle of the day around a long detour for food. Bring what you need or verify available services in advance.
- Add one contrasting stop: If the morning focused on thermal features, choose a broad valley, waterfall, canyon, or scenic-drive experience for the afternoon.
- Leave room for an unplanned pause: A safe wildlife viewing opportunity, changing light, or a short trail may become the day’s best moment. Keep enough daylight and fuel margin to return comfortably.
The winning first Yellowstone visit is usually the one with fewer pins and better pauses. Confirm the changing details through the official Yellowstone National Park page, organize around the entrance and area you can realistically reach, and let the park’s scale set the pace rather than fighting it.
Before you go
- Review official alerts, closures, hours, and reservation requirements.
- Allow extra travel time and keep an alternate plan.
- Use official NPS information as the final authority.
Sources
- Yellowstone National Park — official National Park Service site — National Park Service, accessed 2026-08-16
Continue planning Yellowstone
Learn more about Yellowstone and find other helpful guides, trails, and trip information in the ParkQwest guide.
ParkQwest is a QwestLyfe Community.
QwestLyfe helps you track your lifelong bucket lists, collections, recipes, and the places you've been. Document your experiences, add notes and pictures, and share them with your friends — and the world.