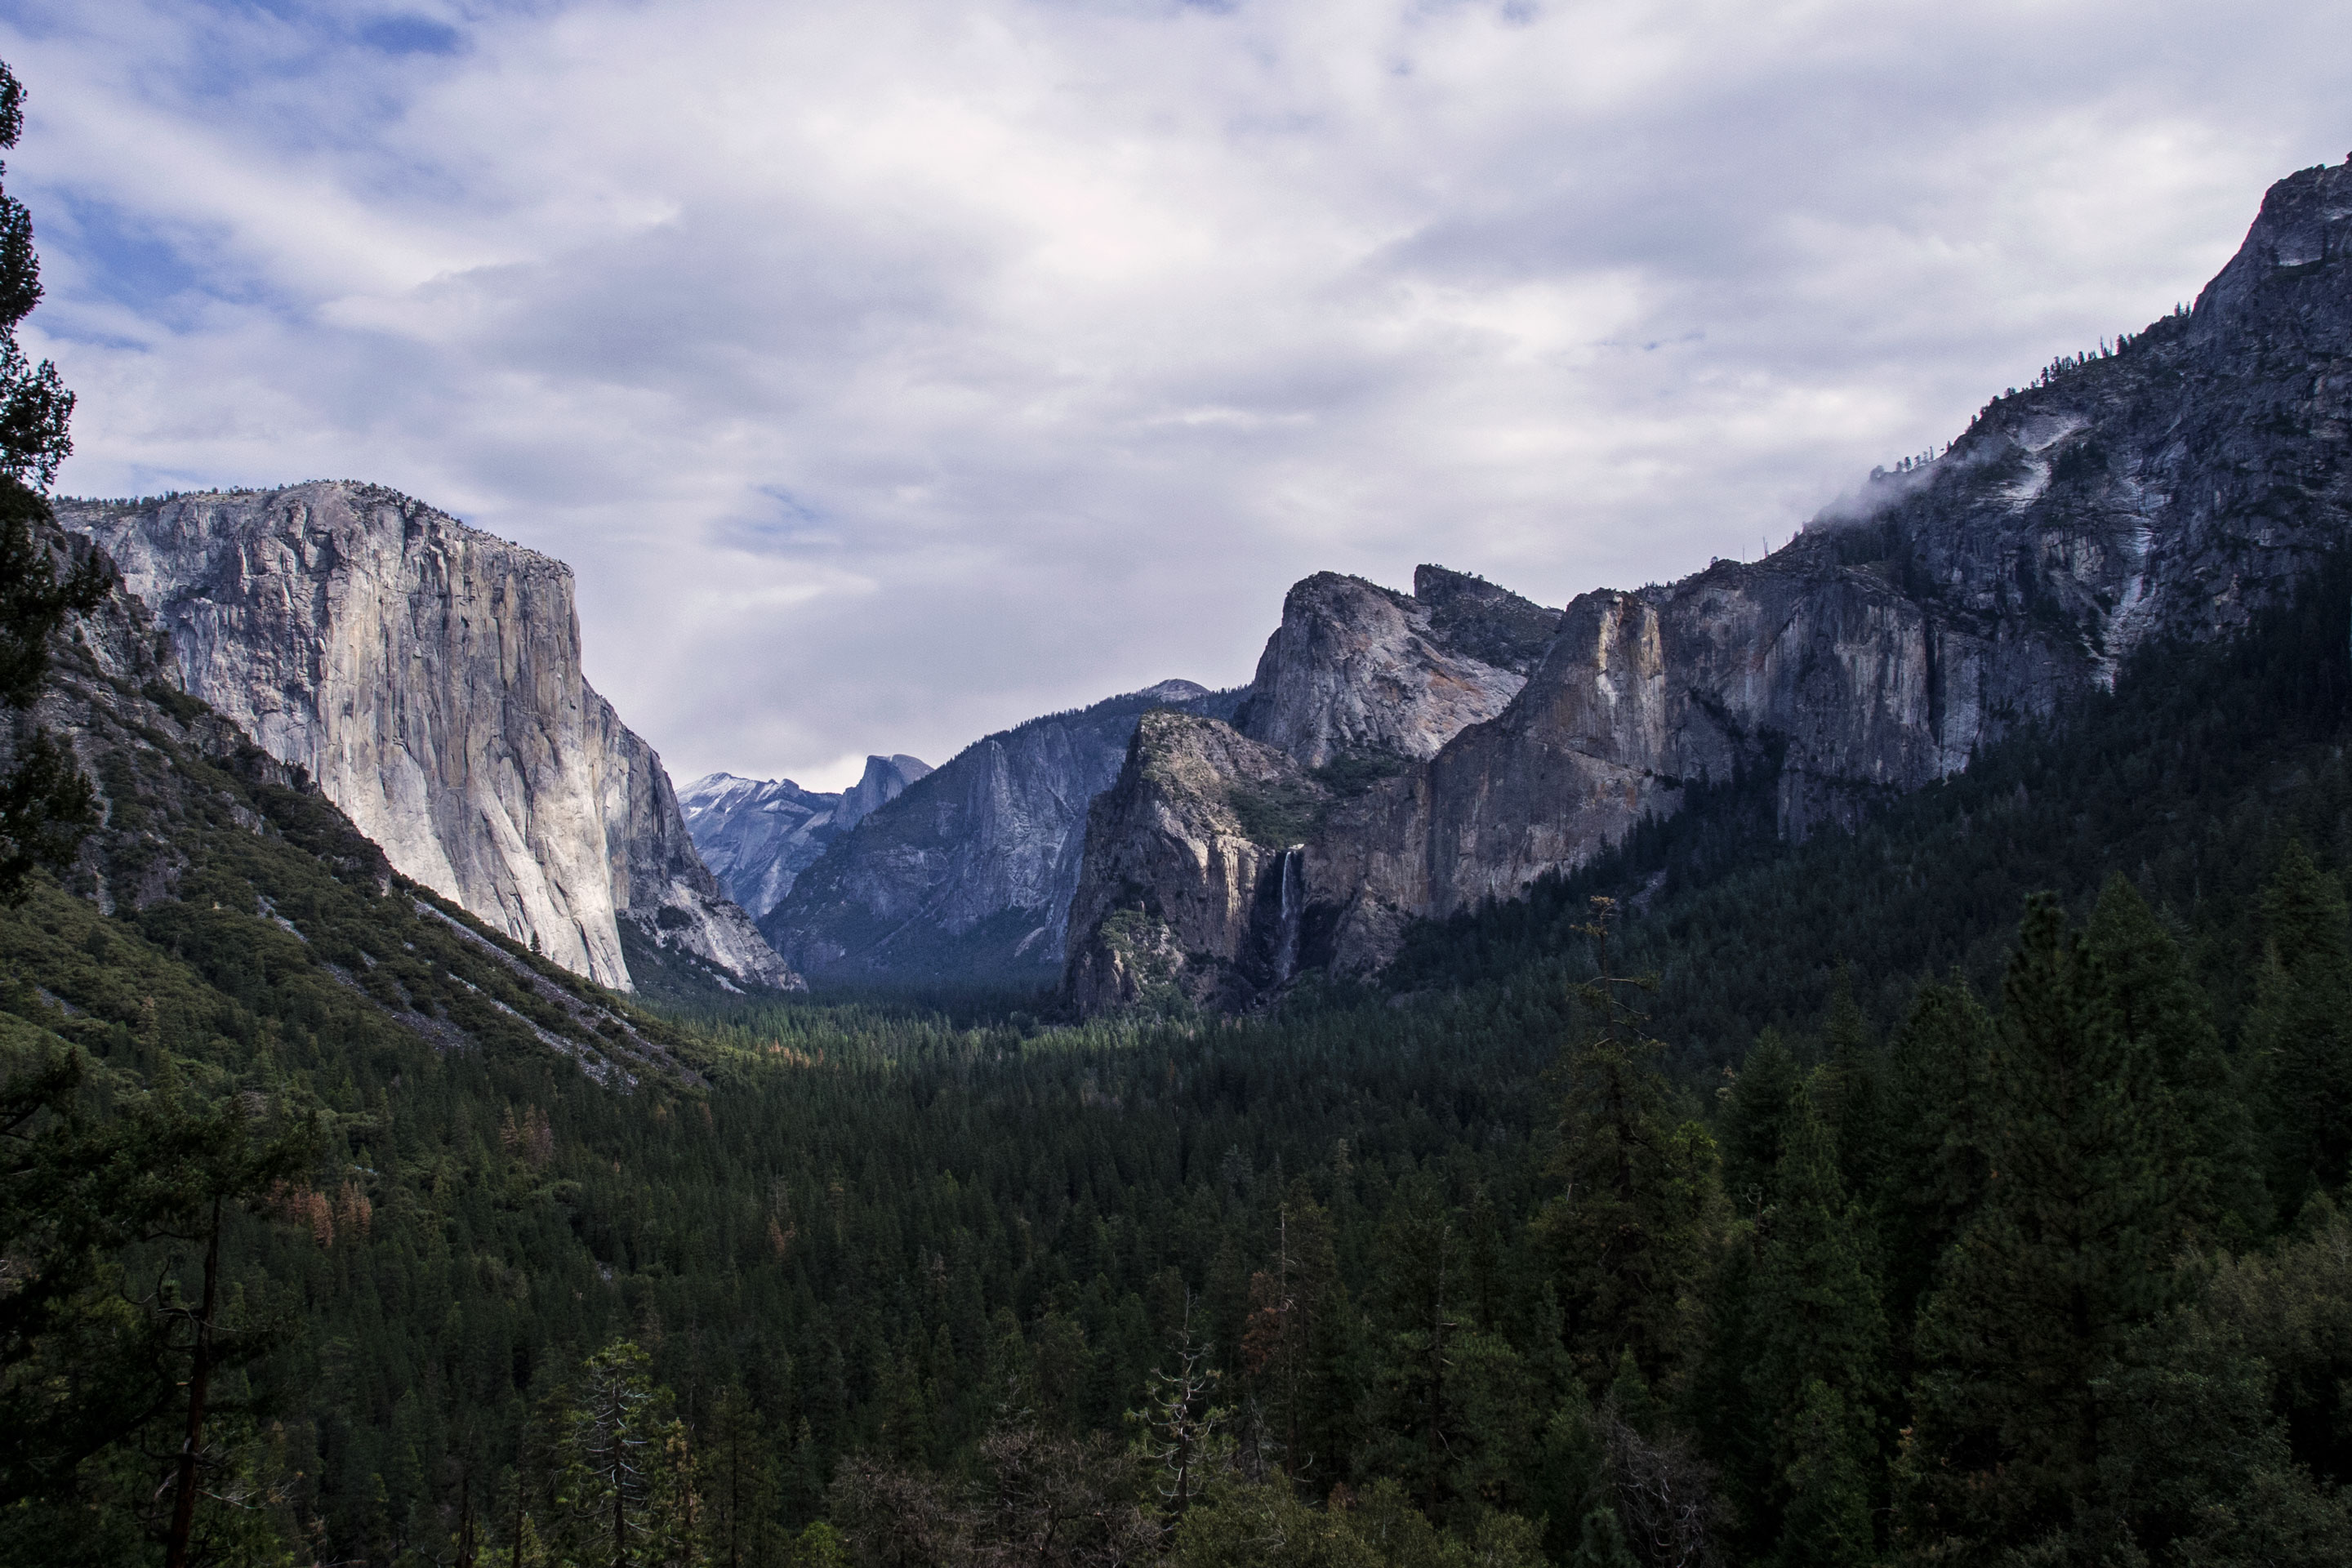

Rocky Mountain National Park: Easy Trails & Scenic Stops
Plan with current information. Conditions, roads, services, fees, and rules can change. Verify details with the National Park Service before your visit.

Rocky Mountain National Park is a strong fit for a lower-effort mountain day if you plan it as a sequence of scenic pauses rather than a checklist of hikes. Its 415 square miles span elevations from about 7,800 feet to more than 14,000 feet, so the same outing can move from meadow surroundings to exposed high country quickly. The practical trick is to choose a base area, build in frequent rests, and judge every short walk by its surface, grade, stairs, shade, and elevation—not by how short it looks on a map.
Quick take
For an easy-going Rocky Mountain National Park day, think in layers: one scenic drive or developed-area loop, two or three short stops, a proper sit-down break, and one optional walk only if everyone still feels good at the elevation.
Start with a “drive first, walk second” plan
Scenic driving is not the backup plan here; it is the structure of the day. In a large, mountainous park, driving lets travelers with limited stamina, young children, mobility considerations, or simply a preference for a quieter pace experience changing landscapes without committing to long trail mileage. It also gives your group repeated chances to reassess weather, energy, and comfort before deciding whether a stop deserves more time.
Use the official NPS park map and current conditions page to identify which roads, overlooks, visitor areas, trailhead lots, restrooms, and parking areas are available for your visit. Road conditions can change with weather, construction, seasonal operations, and high-elevation conditions. Do not build an entire day around a single viewpoint or road segment until you have checked current NPS updates.
Choose one side of the park, not a cross-park marathon
Rocky Mountain National Park has distinct east- and west-side approaches. The east side is reached via U.S. I-25 and U.S. Highway 34 or 36 west toward Estes Park; the west side is approached from I-70 via U.S. Highway 40 toward Granby, then U.S. Highway 34 east to Grand Lake. For a low-effort day, pick the side that best matches your lodging or driving direction rather than trying to maximize coverage.
- East-side strategy: Useful for travelers arriving through Estes Park who want developed-area stops, scenic pullouts, and short-walk options without adding a long approach drive.
- West-side strategy: Useful for travelers based near Grand Lake or approaching from the west, especially when a slower, less fragmented day matters more than seeing both park gateways.
- One-zone rule: Select a cluster of stops within the same part of the park, then keep one additional stop in reserve rather than scheduling five “musts.”
How to evaluate a short walk before you leave the car
Distance alone is a poor measure of effort at Rocky Mountain National Park. A brief path can still be tiring if it starts at high elevation, has loose rock, a sustained incline, steps, poor shade, or a long return climb. Before committing, read the official trail or site description, look at the first visible stretch of path, and give everyone permission to turn around early.
| What to check | Why it matters on an easy day | A practical decision |
|---|---|---|
| Grade | A gradual-looking rise can feel much harder at elevation. | Choose mostly level routes or make the first uphill section your turnaround test. |
| Surface | Packed paths, pavement, gravel, roots, mud, and rocks require very different footing. | Favor stable, predictable surfaces when balance or joint comfort is a concern. |
| Stairs | Steps can turn a short viewpoint walk into the day’s hardest effort. | Ask whether there is a no-stairs viewing option before parking and unloading. |
| Shade and exposure | Sun, wind, and cold can change how manageable a stop feels. | Save exposed stops for calmer conditions and avoid lingering when weather shifts. |
| Elevation | The park’s altitude range is substantial, and exertion can feel different than it does at home. | Slow the pace, hydrate, and make the first walk of the day deliberately easy. |
Use the 10-minute test
Give every optional walk a 10-minute trial instead of treating it as a commitment. Walk out at an easy conversational pace, pause, and ask: Is the surface comfortable? Is anyone breathing harder than expected? Does the return look easier, equal, or harder? If the answer is not clearly positive, enjoy the view from where you are and move to the next scenic stop.
This approach works particularly well for mixed groups. One traveler can take a longer look ahead while others rest near the vehicle or developed area, provided everyone agrees on a meeting point and stays within their own comfort level.
Plan rests as part of the route
A successful easy itinerary has more pauses than destinations. Build a sit-down break after the first major drive segment, another after your main short walk, and a final unhurried stop before the return drive. Rest is not wasted time: it helps travelers notice weather changes, manage hydration, eat before fatigue sets in, and decide whether an extra viewpoint is genuinely enjoyable.
- Keep water reachable: Put bottles where passengers can use them without unpacking the car at every stop.
- Bring a temperature layer: Mountain conditions can shift quickly, and wind at a viewpoint may feel much colder than the parking area.
- Pack simple food: A snack with some substance is more useful than waiting until everyone is depleted and impatient.
- Use restrooms when available: Treat developed-area facilities as an itinerary anchor rather than assuming the next stop will have them.
- Protect the return drive: Leave enough energy for the walk back to the car, loading up, and the drive out.
Quick take
The best short walk is not necessarily the longest one your group can finish. It is the one that leaves enough energy to enjoy the next overlook, handle changing weather, and get back to the car without anyone feeling rushed.
Accessibility: verify the exact facility, not the park in general
Accessibility information needs to be checked stop by stop. A national park can have accessible services or features in some locations while other nearby paths include uneven ground, steep grades, steps, snow, or changing surface conditions. Do not assume that a viewpoint, restroom, parking area, or trail is accessible simply because it appears close to a road.
Before your visit, use the official Rocky Mountain National Park website to confirm current details for the exact places you hope to use. Look for information on parking configuration, designated accessible spaces, path surface and grade, restroom access, drop-off options, assistance needs, and seasonal or weather-related limitations. If your plans depend on a particular accommodation, contact the park directly rather than relying on older trip reports or map pins.
A relaxed sample day: scenic stops with one optional walk
This sample route is a planning rhythm, not a named-road itinerary. It is designed for travelers entering from either the east or west who want mountain scenery without stacking strenuous stops. Adapt the order to the current NPS road status, traffic, weather forecast, and available developed areas.
- Morning arrival: Enter from the side of the park closest to your lodging, make your first stop a visitor or developed area if available, and review the day’s conditions before driving farther.
- First scenic pause: Choose a drive-up overlook or roadside viewing area. Keep it brief: stretch, take in the landscape, and notice how the altitude and temperature feel.
- Primary short walk: Select one officially described short path or viewpoint approach after reviewing grade, surface, stairs, and exposure. Use the 10-minute test and turn around whenever the outing stops feeling easy.
- Midday reset: Return to a developed area or vehicle for food, water, restroom use if available, and a warm or windproof layer before deciding on another stop.
- Afternoon choice: Pick either a second roadside viewpoint or a second very short walk—not both if the first walk required more effort than expected.
- Early exit: Leave a buffer for changing weather and the return drive. Rocky Mountain National Park weather can change quickly throughout the day, especially across its broad elevation range.
Save the official weather links before departure. The NPS directs visitors to its detailed weather page and the National Weather Service forecast for Rocky Mountain National Park for current information. A low-effort itinerary works best when the plan is simple enough to shorten: skip the extra walk, linger at the view you already have, and let the day remain comfortably within your group’s limits.
Before you go
- Review official alerts, closures, hours, and reservation requirements.
- Allow extra travel time and keep an alternate plan.
- Use official NPS information as the final authority.
Sources
- Rocky Mountain National Park — official National Park Service site — National Park Service, accessed 2026-10-01
Continue planning Rocky Mountain
Learn more about Rocky Mountain and find other helpful guides, trails, and trip information in the ParkQwest guide.
ParkQwest is a QwestLyfe Community.
QwestLyfe helps you track your lifelong bucket lists, collections, recipes, and the places you've been. Document your experiences, add notes and pictures, and share them with your friends — and the world.