
Grand Canyon National Park: Easy Trails & Scenic Stops
Plan with current information. Conditions, roads, services, fees, and rules can change. Verify details with the National Park Service before your visit.
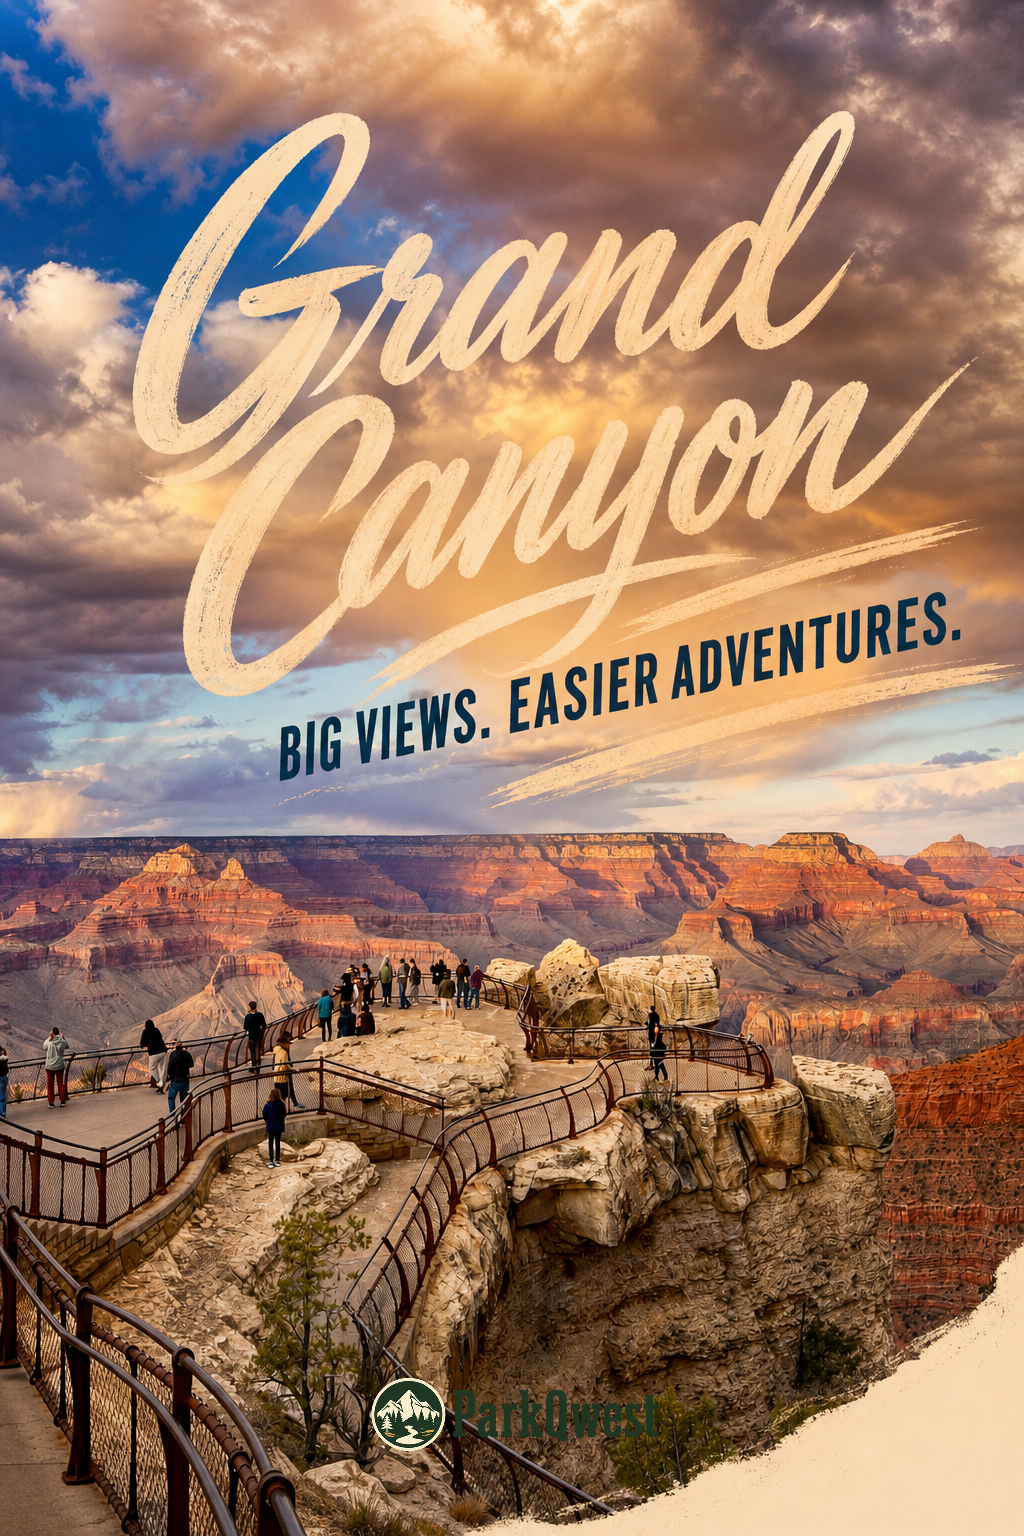
Grand Canyon National Park is one of the rare places where a low-mileage day can still feel complete. The canyon’s scale does much of the work: a short walk from a developed rim area can deliver the kind of view that would require a long hike in many parks. The key is not trying to “see it all,” but building a day around a few well-spaced overlooks, comfortable pauses, and routes whose surfaces and elevation demands match your group. For an easy-going visit, think in scenic stops rather than trail mileage.
Start With the Rim, Not the Canyon Bottom
The most useful planning distinction at Grand Canyon National Park is between rim-based sightseeing and below-rim hiking. A viewpoint near the rim may require only a short approach, while a trail descending into the canyon can become steep immediately and feel much harder on the return. For travelers prioritizing lower effort, keep your main plan in developed rim areas and treat any descent as optional rather than essential.
The South Rim is open all year and is the practical default for many visitors, particularly those arriving from Williams via Route 64 or from Flagstaff via Route 180. The North Rim has a very different access pattern: the NPS notes that select areas are open to public access between October 1 and November 14, with changing details posted in park news releases. If the North Rim is part of your plan, check current NPS information before building an itinerary around it.
Quick take
For the easiest Grand Canyon day, choose one rim area, identify two or three viewpoints with short approaches, and leave room for sitting down between them. A satisfying visit does not require a long hike—or a packed checklist.
Use a “Park, Look, Walk a Little” Strategy
The best low-effort itinerary has a repeatable rhythm: arrive at a developed area, take in the first view, walk only as far as your energy and conditions support, then rest before moving on. This structure keeps the day enjoyable for mixed-age groups, visitors managing mobility or heat, and anyone who would rather absorb the landscape than chase mileage.
Choose Stops by Their Approach, Not Their Photo
A dramatic viewpoint image does not reveal what it takes to reach the railing. Before committing to a stop, look for the practical details on the official NPS website or current park map: parking location, distance from the drop-off point, surface type, slope, stairs, restrooms, and whether there is shade or seating nearby.
- Short approach: Favor overlooks where the view begins close to the parking or developed area, rather than those requiring a long walk along an exposed rim path.
- Firm surface: Paved or otherwise firm, stable surfaces are usually easier to manage than loose gravel, uneven rock, sand, or rutted paths. Confirm current conditions rather than assuming a path is smooth.
- Minimal elevation change: A walk can be short and still feel demanding if it includes repeated ups and downs, ramps, or stair sections.
- Built-in pause point: A stop is more comfortable when restrooms, a bench, an indoor area, or a shaded waiting spot are nearby.
Grand Canyon views can be emotionally and visually overwhelming in the best way, but that does not mean every stop needs to be long. Ten attentive minutes at one overlook can be more memorable than a rushed hour on a route that is too strenuous.
Read the Effort Clues Before You Leave the Car
At the rim, the challenge is often less about distance than about exposure, footing, and altitude. Grand Canyon National Park ranges from 2,500 feet at the bottom of the canyon to 8,400 feet on the North Rim, and even rim visits can feel different than a visitor expects—especially after driving in from lower elevations.
| What to assess | Why it matters for an easy day | Practical choice |
|---|---|---|
| Grade | An incline can make a short route tiring, particularly at elevation. | Turn around early if the return walk would be uphill. |
| Surface | Loose or uneven ground affects balance, wheel mobility, and confidence. | Prioritize routes described as paved, firm, or stable after verifying current conditions. |
| Stairs | Stairs can be a bigger barrier than total distance suggests. | Ask whether a step-free alternative reaches a comparable view. |
| Shade and exposure | Open overlooks can feel much hotter or windier than expected. | Visit exposed stops earlier or later in the day and plan a cool-down break. |
Do Not Treat “Rim Walk” as One Uniform Experience
Rim routes can change character quickly. A broad developed path may narrow, become uneven, gain stairs, or lose shade beyond a viewpoint. Use a turnaround rule before you start: if the route stops feeling comfortable, the view behind you is still a valid finish line.
This is especially important for travelers who use mobility devices, have limited stamina, are recovering from injury, or are traveling with young children. Do not label a route accessible based on a photograph, a social post, or a general description of a developed area. Verify accessibility details directly through the official NPS page, including current closures, surfaces, grades, accessible parking, restroom access, and any temporary construction impacts.
Quick take
A route is not “easy” just because it is short. Check the return grade, stairs, surface, sun exposure, and nearest restroom before calling it a low-effort stop for your group.
Plan Rest Like It Is Part of the View
Rest planning is what turns a scenic drive day into a comfortable one. Instead of stacking several viewpoints back-to-back, alternate active moments with low-demand ones: a short overlook walk, a seated snack, a drive, then another short walk. This keeps energy from dropping all at once in the afternoon.
- Bring water into every stop: Do not leave it in the vehicle because a “quick” viewpoint walk can become longer than expected.
- Carry a simple snack: A salty snack and something easy to eat can help prevent the drained feeling that arrives after sun, wind, and driving.
- Use restrooms proactively: Stop when facilities are available rather than assuming the next developed area will be equally convenient.
- Save one comfortable stop for last: End at a viewpoint or developed area that does not require you to push through fatigue.
Weather deserves the same attention as distance. The NPS warns that conditions can change rapidly, winters tend to be cold and snowy, and summers can bring periods of excessive heat. Temperatures inside the canyon can run 20 to 30 degrees warmer than on the rims, so a below-rim detour may be far more demanding than the temperature at your vehicle suggests.
A Relaxed South Rim Day Template
This is not a named-route checklist; it is a pacing model you can adapt after checking the official NPS map, conditions, and transportation updates. The goal is three quality viewing periods, not continuous movement.
- Morning arrival: Begin in a developed South Rim area and take your first canyon view before deciding how far to walk. Morning is a good time to evaluate wind, temperature, footing, and your group’s energy.
- One short viewpoint walk: Choose a nearby overlook with an approach that matches your needs. If the path includes more slope, stairs, or exposure than expected, keep the walk brief and enjoy the nearest view.
- Late-morning reset: Return to a developed area for water, food, restrooms, and a seated break. This is also the moment to consult current NPS information if weather or closures are shifting.
- Midday scenic-stop window: Drive or use currently available park transportation only after confirming the day’s operating details. Pick one additional viewpoint rather than trying to cover every marked stop.
- Afternoon finish: Choose a final rim view close to your departure direction. End before tired legs, changing weather, or fading light turn a simple walk into a stressful one.
Grand Canyon National Park rewards an unhurried approach. When you choose developed areas carefully, check the real-world effort behind each viewpoint, and build in genuine rest, the canyon remains the centerpiece—not the logistics.
Before you go
- Review official alerts, closures, hours, and reservation requirements.
- Allow extra travel time and keep an alternate plan.
- Use official NPS information as the final authority.
Sources
- Grand Canyon National Park — official National Park Service site — National Park Service, accessed 2026-09-21
Continue planning Grand Canyon
Learn more about Grand Canyon and find other helpful guides, trails, and trip information in the ParkQwest guide.
ParkQwest is a QwestLyfe Community.
QwestLyfe helps you track your lifelong bucket lists, collections, recipes, and the places you've been. Document your experiences, add notes and pictures, and share them with your friends — and the world.