
Rocky Mountain National Park: 3-Day Itinerary
Plan with current information. Conditions, roads, services, fees, and rules can change. Verify details with the National Park Service before your visit.
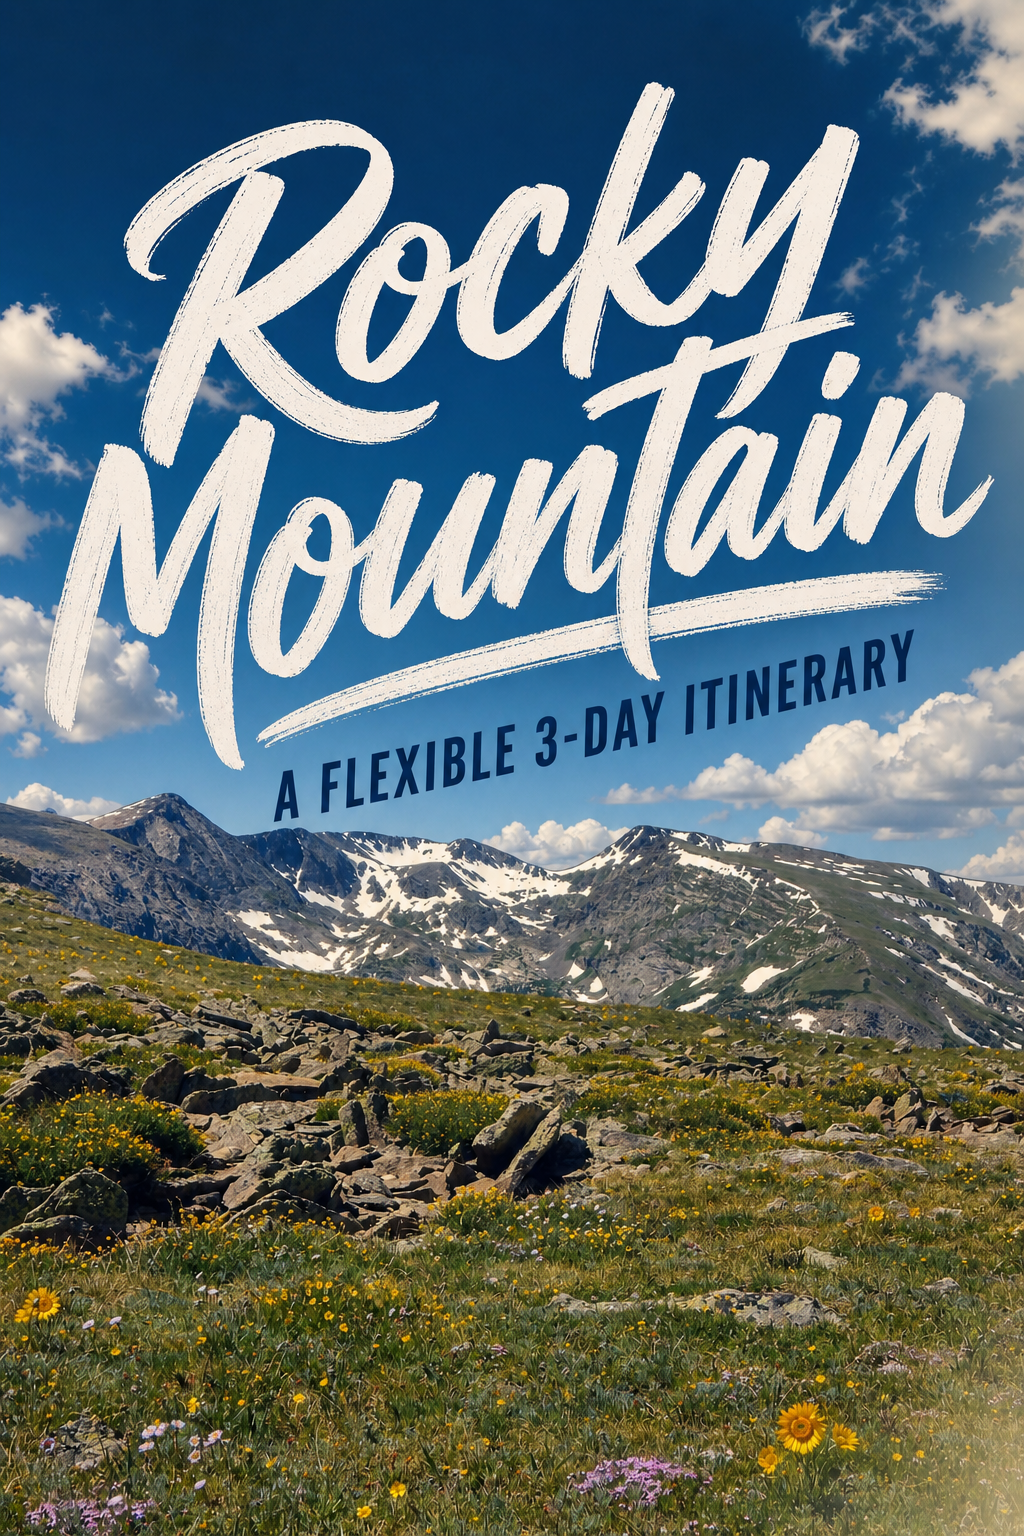
Rocky Mountain National Park is best planned as a progression, not a checklist: begin in the lower-elevation east-side landscapes, use your best weather window for a high-country day, then finish with a quieter west-side or lake-and-meadow day. The park spans 415 square miles and rises from about 7,800 feet to peaks above 14,000 feet, so a three-day trip works best when it leaves room for altitude, changing weather, road conditions, and the simple fact that mountain days often take longer than they look on a map.
This itinerary assumes you are comfortable choosing the day’s exact route after checking the official Rocky Mountain National Park NPS page. Confirm current entry requirements, timed-entry information if applicable, road status, trail conditions, construction, weather, and seasonal services before committing to any plan. The east side is approached through Estes Park via U.S. Highway 34 or 36; the west side is reached through Grand Lake from U.S. Highway 40 and U.S. Highway 34.
Quick take
Build your days around conditions, not a rigid route. Use Day 1 to get comfortable with elevation, protect Day 2 for the clearest and calmest forecast, and treat Day 3 as a scenic, lower-intensity finish or a built-in weather buffer.
Day 1: East-side orientation, meadows, and an altitude-friendly start
Purpose: arrive through the Estes Park side, learn the park’s rhythm, and avoid making your first high-elevation exposure your biggest hiking day. Rocky Mountain National Park has more than 300 miles of trails, but the smartest first-day choice is usually a lower-to-mid-elevation walk with a turnaround point you can adjust easily.
Morning: Enter early and choose a flexible first walk
Start on the east side with water, food, sun protection, layers, and a downloaded or paper backup of the day’s plan. Choose a signed trail or paved viewpoint area that lets your group decide between a short outing and a longer one after everyone has had time to assess energy, breathing, and weather. In a park defined by montane meadows, alpine lakes, and high peaks, there is no prize for beginning at the highest point available.
Make wildlife viewing a pause, not an itinerary promise. Meadows and forest edges can be productive places to watch quietly from a safe distance, but animals are not scheduled attractions. If traffic, crowding, or an animal causes a slowdown, let that replace rather than add to your next stop.
Afternoon: Picnic, reset, then pick one scenic priority
Plan lunch before hunger makes every decision feel urgent. A packed picnic is especially useful on Day 1 because it keeps you from leaving a good weather window just to search for food; if you prefer a meal in Estes Park, treat it as the day’s reset rather than a rushed detour between stops.
After lunch, choose one of these approaches rather than trying to sample all three:
- Easy-going option: a second short walk, overlook, or meadow stop with plenty of time for photography and wildlife scanning.
- Hiker’s option: a longer out-and-back on a trail whose conditions and elevation gain you have verified that morning.
- Recovery option: return to Estes Park early, rest, shop for the next day’s food, and make a weather-informed plan for the high country.
Evening: Eat early and stage tomorrow
Choose an early dinner or simple lodging meal, then refill bottles and set out rain layers, warm layers, snacks, and dry socks for Day 2. Check the NPS weather page and the National Weather Service forecast for Rocky Mountain National Park again in the evening; mountain weather can change quickly through the day, and a clear morning forecast does not guarantee a calm afternoon.
Alternate for weather or closures: If rain, wind, lightning risk, smoke, road restrictions, or a low-energy arrival changes the day, keep your outing on the east side and focus on short, low-commitment stops. Use the remaining time for the visitor information available that day, resupply in Estes Park, and an earlier night. That is not “losing” a park day—it protects the day most likely to reward good conditions.
Day 2: High-country day when the forecast earns it
Purpose: use your strongest weather window for the alpine side of Rocky Mountain National Park. This is the day for expansive mountain views, high-elevation trail access where open, or a scenic drive through the park’s upper elevations—but only after checking current road and weather conditions on official sources.
Morning: Go early, travel light, and define a turnaround rule
Start before the middle of the day whenever conditions allow. Higher terrain is exposed, weather can develop quickly, and parking or road congestion may change your preferred plan. Bring more water and insulating layers than you think you need for a short walk, but avoid overpacking yourself into an uncomfortable all-day haul.
Before leaving the trailhead or viewpoint area, agree on a turnaround rule: for example, turn back if clouds build, wind becomes difficult to manage, anyone develops altitude symptoms, or the group has not reached its intended midpoint by a chosen time. A shared rule prevents the most common high-country argument—whether to press on after the day has already changed.
Quick take
The best high-country plan is often a scenic drive plus one well-chosen walk, not a chain of ambitious stops. Save energy for the return trip, changing temperatures, and the possibility that the route you expected is unavailable.
Afternoon: Keep the biggest decision small
By lunchtime, decide whether the day is still a hiking day or has become a scenic-view day. If skies are stable and your group feels good, choose one verified trail objective and give it enough time. If clouds are building or the wind is up, shift to shorter stops and prioritize getting below exposed terrain rather than squeezing in another lake, ridge, or viewpoint.
Lunch works best as a packable meal eaten in a sheltered, legal location rather than a reservation-dependent stop. Bring salty snacks as well as sweet ones; at elevation, a lunch plan that is easy to eat and drink is more useful than a perfect picnic spread.
Evening: Quiet recovery, not a second adventure
Expect this to be your most physically demanding day even if your mileage is modest. Return to your lodging area, eat a substantial meal, hydrate, and review photos later—after you have handled wet gear, charged devices, and checked the next day’s route. If you plan to move from the east side toward Grand Lake, verify whether the park route is open and practical before assuming it is your travel corridor.
Alternate for weather or closures: If high roads, high trails, or alpine viewpoints are unavailable, turn Day 2 into an east-side exploration day. Repeat none of Day 1 mechanically: choose a different elevation band, a forested walk, a meadow-focused route, or a shorter family-paced outing. Hold the high-country attempt for Day 3 only if the forecast and official conditions improve.
Day 3: West-side calm, lake-and-meadow pacing, or your weather-buffer day
Purpose: finish with a different visual feel and a gentler tempo. The west side near Grand Lake can make a rewarding contrast to the busier east-side approach, but it should be treated as its own destination—not a casual add-on unless current roads and your overnight location make the transition sensible.
Morning: Choose between a true west-side day and a smart repeat
If you are already staying near Grand Lake or have verified a workable route, spend the morning exploring the west side through short walks, lake views, meadow habitats, and trail options suited to the day’s conditions. This is a good place to slow down: take a warm drink, watch the light change, and choose a route that leaves enough room for a relaxed final afternoon.
If you are based in Estes Park and crossing the park would create uncertainty, traffic stress, or too much driving, use Day 3 as an east-side weather-buffer day instead. Revisit the category you skipped: an alpine attempt if Day 2 was stormy, a longer hike if Day 1 was intentionally short, or a low-elevation wildlife-and-photography morning if everyone is tired.
Afternoon: Finish with one meaningful outing
A final-day mistake is trying to “make up” every missed sight before departure. Pick one meaningful outing: a lake-side stroll, a moderate trail, a scenic drive segment, or a long picnic with a short walk afterward. Leave a generous margin for packing, vehicle access, changing weather, and the drive out.
- For hikers: choose a trail with a clear turnaround point and enough daylight margin to finish unhurried.
- For mixed groups: pair a scenic stop with a short trail so non-hikers are not waiting through a long outing.
- For photographers: limit locations and stay longer at each; changing clouds and mountain light are usually more useful than chasing a long list of viewpoints.
Evening: Leave with a plan you actually completed
Use the final evening for an unhurried meal in Grand Lake, Estes Park, or your next overnight stop, depending on your route. Rocky Mountain National Park rewards the travelers who see fewer areas with more attention: montane meadow one day, alpine terrain when conditions allow, and a lake-or-forest finish that does not require racing the weather.
Alternate for weather or closures: Make this the lowest-commitment day of the trip. Monitor conditions at NPS weather information and the National Weather Service Rocky forecast, then choose the most sheltered and accessible verified option. If conditions remain poor, a short park visit paired with a safe, early departure is the responsible finish—not a reason to force high terrain.
Before you go
- Review official alerts, closures, hours, and reservation requirements.
- Allow extra travel time and keep an alternate plan.
- Use official NPS information as the final authority.
Sources
- Rocky Mountain National Park — official National Park Service site — National Park Service, accessed 2026-08-29
Continue planning Rocky Mountain
Learn more about Rocky Mountain and find other helpful guides, trails, and trip information in the ParkQwest guide.
ParkQwest is a QwestLyfe Community.
QwestLyfe helps you track your lifelong bucket lists, collections, recipes, and the places you've been. Document your experiences, add notes and pictures, and share them with your friends — and the world.