
Bryce Canyon National Park: 3-Day Itinerary
Plan with current information. Conditions, roads, services, fees, and rules can change. Verify details with the National Park Service before your visit.
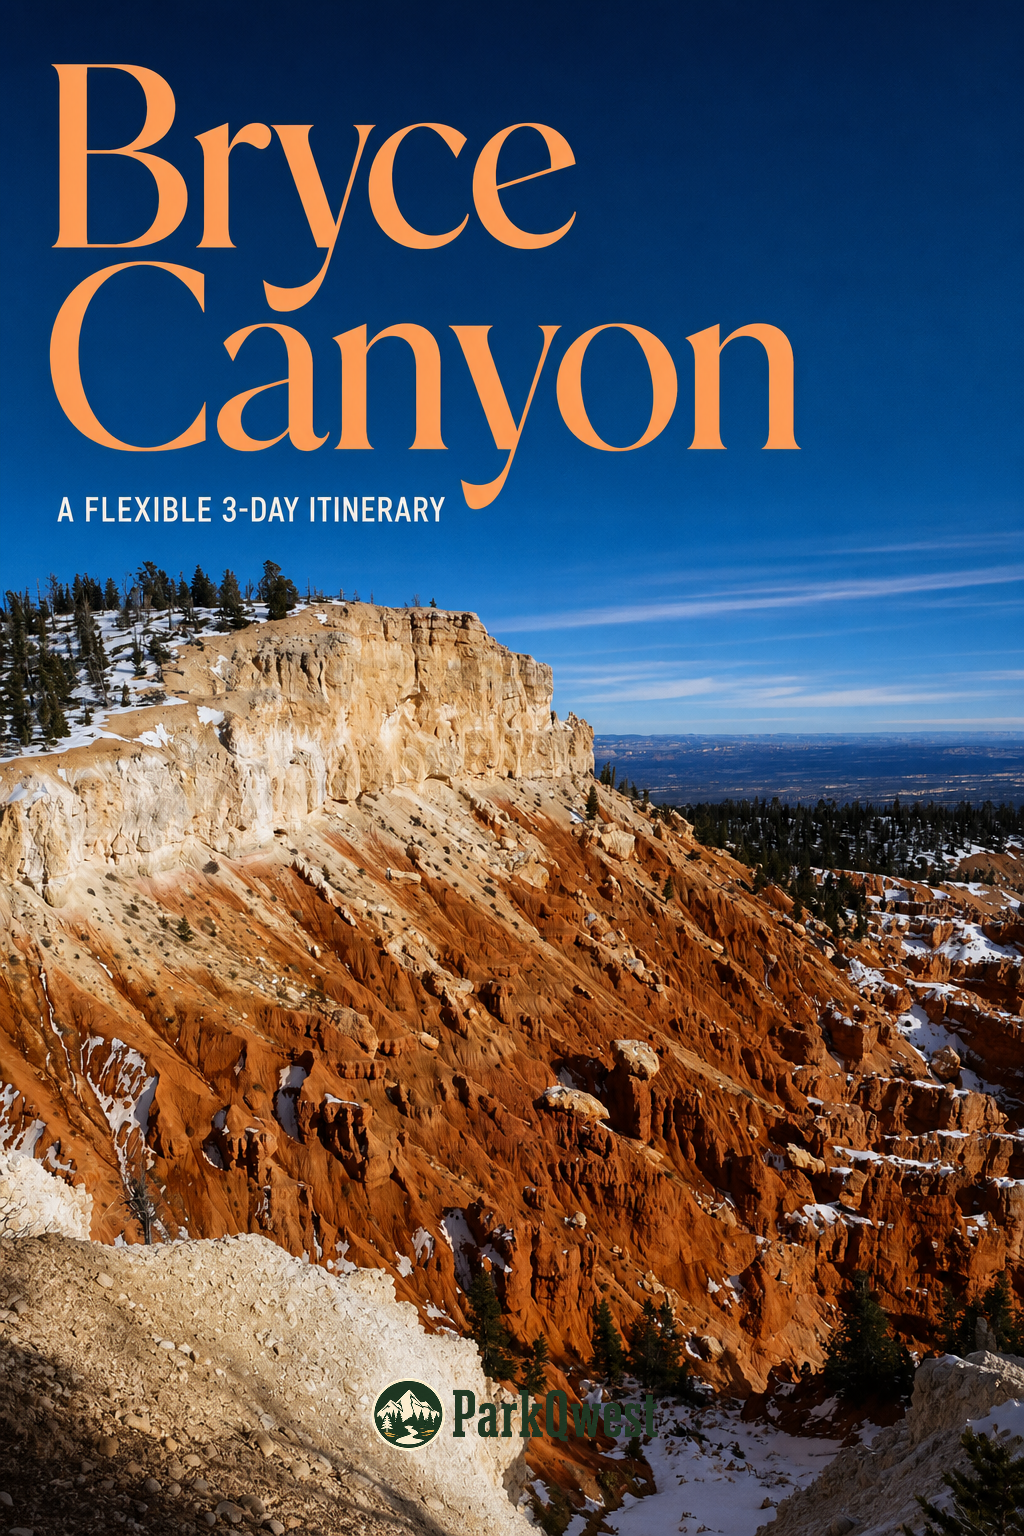
Bryce Canyon National Park works best as a three-day trip when you resist the urge to treat every overlook as a checkbox. The park’s largest concentration of hoodoos is spread along a high plateau, so the most satisfying plan alternates between rim views, time below the rim, and the quieter southern end of the scenic drive. This itinerary builds in altitude, changing weather, photo light, meals, and recovery time—especially useful because the park’s high-elevation climate can turn a mild-looking day into a cold, windy, or stormy one quickly.
Quick take
Give your first day to the main amphitheater and orientation, your second to a below-the-rim hike or longer exploration, and your third to the park’s southern viewpoints and a slower departure. That order lets you make better decisions once you have seen the weather, road conditions, and your group’s energy level.
Day 1: Learn the rim and set your visual bearings
Morning: Arrive with enough time to orient yourself
Begin at the park’s main entrance area and make the official NPS page your same-day reality check. Verify current road access, shuttle or parking guidance if applicable, trail conditions, weather alerts, and any temporary closures before committing to a route. Bryce Canyon’s elevation is part of the experience, but it can also make the first few hours feel more tiring than expected.
Use the morning for a short rim walk or a sequence of nearby viewpoints overlooking the main hoodoo amphitheater. This is not the day to chase maximum mileage. The goal is to understand the scale of the formations from above, notice where the light is falling, and identify whether anyone in your group would prefer a gentler plan tomorrow.
- Best pacing choice: Choose one connected stretch of rim rather than repeatedly moving the car for tiny stops.
- Photo logic: Save a few locations you like in ordinary daylight; returning later in lower-angle light often gives you a stronger final set of photos.
- Altitude logic: Drink water steadily, eat a real snack, and avoid interpreting a headache or unusual fatigue as a sign to push harder.
Afternoon: Take a deliberate reset, then explore close to the entrance
Plan lunch before the afternoon energy dip. Whether you bring food or use services available in the surrounding area, eat before you start a longer walk rather than treating snacks as lunch. The park’s high plateau setting can feel deceptively cool even when the sun is strong.
After lunch, choose a second rim section, a short nature-focused walk, or an interpretive stop if available. Keep this portion intentionally modular: if clouds build, wind rises, or your arrival ran late, you can shorten it without losing the point of the day. The main amphitheater is visually dense enough that a slower afternoon can still feel full.
Evening: Return for light, then protect tomorrow’s energy
Head back to a viewpoint you enjoyed in the morning and give yourself time to simply watch the hoodoos change color as the sun drops. Do not build the evening around one exact “best” spot; conditions, parking, and crowd patterns can change. Bring a warm layer even in summer, since Bryce Canyon National Park’s elevation can make evenings chilly.
Dinner should be uncomplicated and early enough to allow a proper rest. If skies are clear, consider a short post-dinner stop for stargazing from a safe, established viewpoint or parking area; the NPS notes the park’s fantastic dark skies. Keep headlights, layers, and a conservative turnaround plan in mind.
Alternate for weather or closures: If rain, lightning, snow, or heavy wind makes rim time unpleasant, use Day 1 for orientation, updated NPS conditions, a scenic drive segment that is confirmed open, and a shorter sheltered-in-the-car viewing plan. In July and August, afternoon thunderstorms are common, so move outdoor walking earlier rather than waiting for the day to improve.
Day 2: Go below the rim—or make it your long walking day
Morning: Choose one meaningful route, not several partial ones
Day 2 is for the experience that makes Bryce feel less like a roadside viewpoint park: walking among the hoodoos rather than only looking down on them. Select a below-the-rim trail or loop that matches the current NPS conditions, your fitness, and the time of year. Because named trail status, route conditions, and seasonal closures can change, verify your chosen route on the official park page or with park staff rather than relying on a saved pin alone.
Start early enough that you are not beginning your biggest climb during the warmest or stormiest part of the day. A route with a descent at the beginning still requires a climb back out, which is the detail most likely to change the group’s mood. Turnaround decisions should be made while everyone still has water, energy, and patience.
- Choose your effort level: Pick a short loop for a first-day-at-altitude group, a moderate loop for confident walkers, or a longer route only if conditions are stable and everyone is prepared.
- Read the terrain honestly: Loose rock, snow, ice, mud, heat, or altitude can make a familiar-looking trail much more demanding.
- Carry the return plan: Bring water, food, sun protection, insulation, and a map or downloaded official information; cell service should not be your only navigation plan.
Quick take
The best Day 2 choice is usually the hike that leaves you with enough energy to enjoy the rim afterward. A shorter walk completed well beats a longer route rushed because clouds, fatigue, or a slow uphill return changed the equation.
Afternoon: Recover first; add views second
After your hike, treat lunch and rest as part of the itinerary, not a failure of ambition. Sit down, replenish water, and give feet and knees a break before deciding on the afternoon. This is especially important from October through May, when temperatures commonly fall below freezing overnight and trail surfaces may be affected by snow, ice, or thawing conditions.
If the group feels good, use the afternoon for a scenic drive and several viewpoint stops that complement your morning route. If you are tired, choose one overlook, take your photos, and stop. Bryce Canyon rewards repeat looking: the same formations read differently from above, below, in shadow, and in changing weather.
Evening: Keep it easy and weather-aware
Make this the low-pressure evening of the trip. Have dinner, review tomorrow’s road conditions, recharge devices, and pack layers for an early start. If the sky is clear and everyone is comfortable, a second dark-sky outing is worthwhile; if it is cold or cloudy, an early night is a smart trade rather than a missed experience.
Alternate for weather or closures: If below-the-rim trails are closed or unsafe, convert Day 2 into a rim-and-viewpoint day. Break it into short walks between warm-up or car-rest intervals, and focus on comparing broad amphitheater views with more distant plateau perspectives. In winter and spring, do not assume a dry-looking forecast means dry trails; NPS notes that December through February are typically the coldest and snowiest months, and March or April storms can still bring heavy snow.
Day 3: Drive deeper into the park and leave room for the road home
Morning: Explore the southern end at an unhurried pace
Use the final day for the park’s longer scenic-drive experience and the viewpoints farther from the main entrance area, provided the road is open. This is Bryce Canyon’s big-picture day: instead of concentrating on one amphitheater, you are seeing how the plateau, forested sections, distant views, and geology fit together.
Start with the farther stops first if conditions are good, then work back toward the entrance. That simple order gives you a buffer if weather arrives, a road closes, or you need to shorten the plan for your onward drive. Avoid assuming a precise drive time; stopping patterns, traffic, weather, and photo breaks matter more here than map mileage.
Afternoon: Pick one final priority
After lunch, choose only one: a final short walk, a return to your favorite overlook, or an unhurried scenic-drive exit. Travelers often overfill this day because it feels like the last chance, but a focused final stop is more useful than a hurried loop of leftovers. If you are continuing toward another Utah destination, leave enough daylight and energy for the transition.
For arrival or departure, the NPS lists access via UT-63 from UT-12; common approaches connect through US-89 and UT-20 from the north or through UT-9 and US-89 from the Zion direction. Check current conditions before relying on any route, particularly during snow season or storm periods.
Evening: Depart with the weather, not against it
If you have a third night nearby, use sunset as a quiet closing moment from a viewpoint you already understand. If you are departing, aim to leave before you are tired, cold, or driving unfamiliar roads after dark. Bryce Canyon National Park is at its best when the itinerary has enough margin for the landscape—and for the very real possibility that the weather gets a vote.
Alternate for weather or closures: If the southern scenic-drive plan is limited, revisit the accessible main amphitheater area at a different time of day and pair it with a short, verified-open walk. A repeat view in snow, cloud shadow, or softer light is not a consolation prize; at a park built from thousands of irregular rock columns, changing conditions can completely change what you notice.
Before you go
- Review official alerts, closures, hours, and reservation requirements.
- Allow extra travel time and keep an alternate plan.
- Use official NPS information as the final authority.
Sources
- Bryce Canyon National Park — official National Park Service site — National Park Service, accessed 2026-08-26
Continue planning Bryce Canyon
Learn more about Bryce Canyon and find other helpful guides, trails, and trip information in the ParkQwest guide.
ParkQwest is a QwestLyfe Community.
QwestLyfe helps you track your lifelong bucket lists, collections, recipes, and the places you've been. Document your experiences, add notes and pictures, and share them with your friends — and the world.