Rocky Mountain National Park: First-Trip Guide
Plan with current information. Conditions, roads, services, fees, and rules can change. Verify details with the National Park Service before your visit.
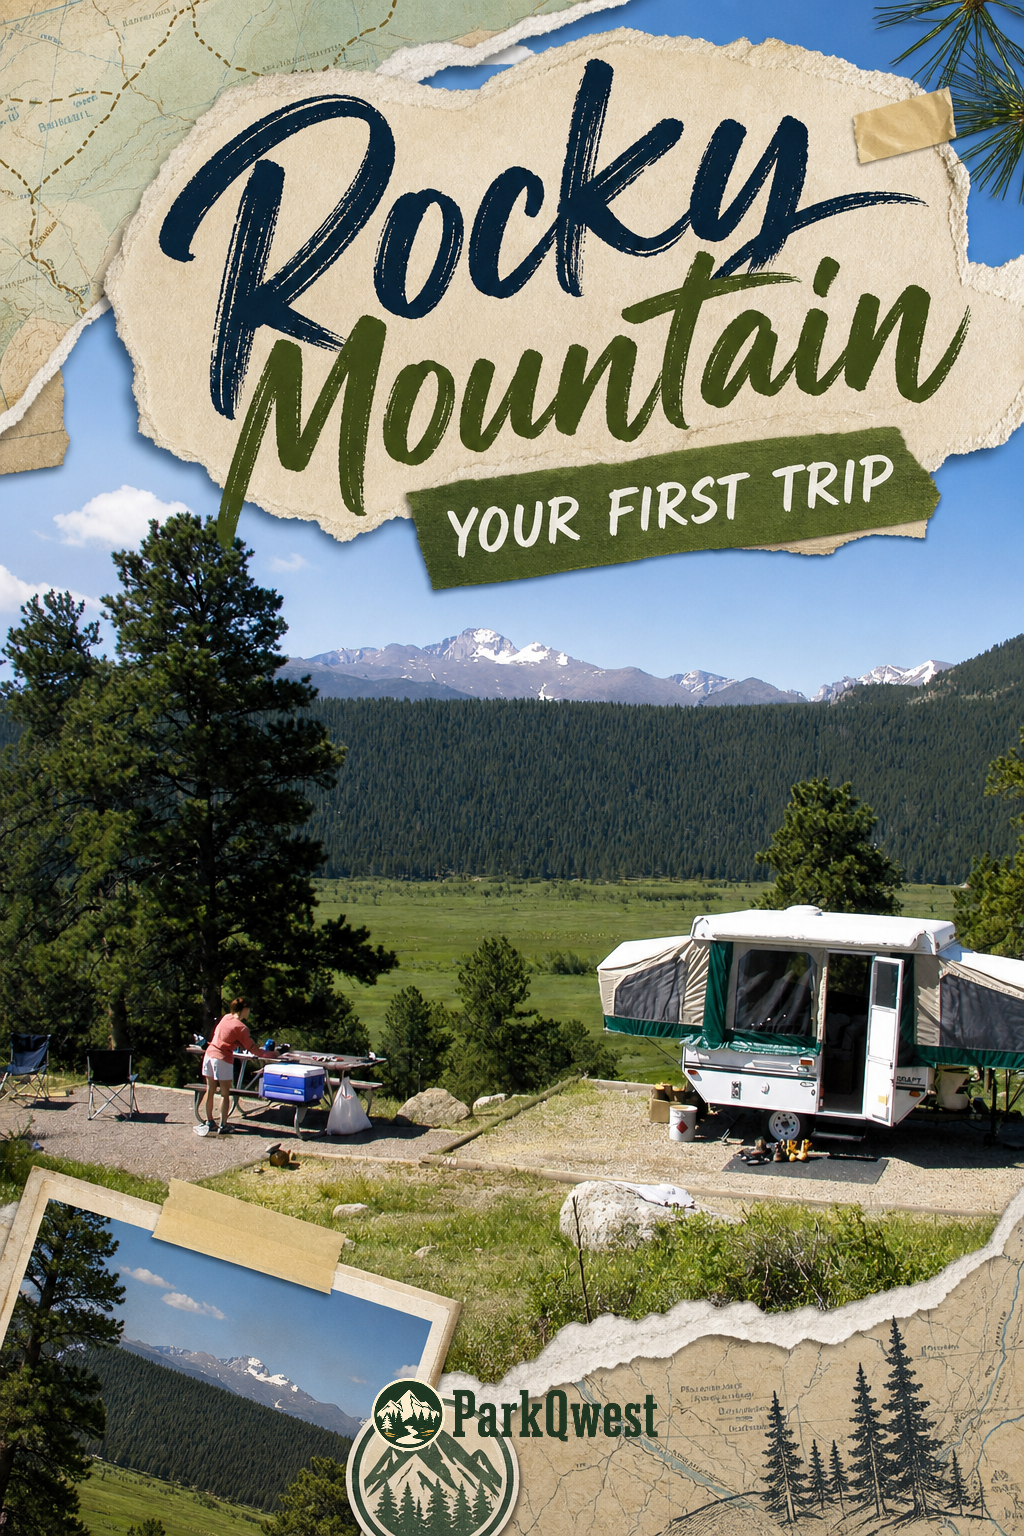
Rocky Mountain National Park is easiest to enjoy when you treat it as an elevation-and-access puzzle, not a checklist of overlooks and hikes. Its 415 square miles span from montane meadows at about 7,800 feet to alpine lakes, tundra-like high country, and peaks above 14,000 feet. That vertical range is the point: a first visit can move through dramatically different mountain environments in one day, but the same range also brings quick weather changes, slower-than-expected travel, and a real adjustment to altitude.
The park has more than 300 miles of hiking trails and excellent wildlife-viewing potential, yet a successful first trip does not require covering much ground. Pick one side of the park, give yourself room for weather and road conditions, and build a day around a scenic drive, one appropriately paced walk, and time to stop when the landscape earns it.
What makes Rocky Mountain National Park different
This is a park of rapid transitions. Lower-elevation meadows, forested slopes, glistening lakes, and exposed alpine terrain can feel like separate destinations, but they are connected by a short span of mountain roads and trails. First-timers often underestimate how much the elevation changes the experience: a walk that seems modest on paper can feel much more demanding once you are high above your usual altitude.
Wildlife viewing is part of the rhythm, not a scheduled attraction. Meadows and roadside openings can reward patient observation, but animals move on their own timetable and traffic may slow around sightings. Keep expectations grounded: bring binoculars if you have them, pull over only where it is legal and safe, and never let a wildlife stop turn into a roadside crowd.
Weather is a planning factor, not an afterthought. The National Park Service notes that conditions can change quickly throughout the day because of the mountains and elevation. A blue-sky morning does not guarantee a calm afternoon, especially in exposed high country. Check the park’s weather information and the National Weather Service forecast for Rocky Mountain National Park shortly before departure, then use current conditions to decide how high and how far to go.
Quick take
For a first visit, aim to experience three layers of the park rather than chase every landmark: a meadow or valley setting, a lake or forest walk, and—if conditions and access allow—an alpine viewpoint. That gives you the park’s essential contrast without turning the day into a race.
Choose your side before you choose your stops
The east and west approaches create different first-day logistics. Rocky Mountain National Park sits in northern Colorado. The NPS directs east-side visitors toward Estes Park via I-25 and U.S. Highway 34 or 36, while west-side visitors approach Grand Lake via I-70, U.S. Highway 40 toward Granby, and U.S. Highway 34 east.
| Best fit | Base your planning around | Why it works for a first trip |
|---|---|---|
| East-side arrival | Estes Park and the park’s east entrances | A practical choice if your route naturally comes through I-25 and you want a straightforward first orientation. |
| West-side arrival | Grand Lake and the park’s west entrances | A sensible choice if you are coming from the I-70 and Granby direction and prefer not to spend your first morning crossing the state. |
Do not assume you will casually drive from one side to the other and back. Mountain routes, road status, weather, construction, timed-entry requirements, and seasonal access can change. Before locking in lodging or a day plan, check the official NPS page for current entrance information, road conditions, shuttle details if offered, and any reservation or permit requirements.
Where to base a first visit
Estes Park or Grand Lake can both work well as practical gateways. The better base is usually the one on the same side as your arrival route and the portion of the park you most want to explore. Avoid choosing a base solely because it looks close on a map; mountain driving and park entry logistics matter more than straight-line distance.
- Choose Estes Park if you are approaching from the east and want your first morning to begin near the east side.
- Choose Grand Lake if you are arriving from the west through the Granby direction and want to concentrate on the west side.
- Split your expectations, not necessarily your lodging. On a short first visit, one gateway and one side of the park is often more satisfying than trying to “complete” both.
How to organize your first day
Use a one-anchor plan. Choose one main experience—a scenic drive with stops, a lake-focused outing, or a hike—and let everything else support it. This prevents a common Rocky Mountain National Park mistake: stacking several ambitious stops at different elevations, then discovering that parking, weather, altitude, and photo stops have consumed the day.
- Start with current information. Check the official NPS site for alerts, road and trail conditions, weather, and entry procedures before leaving your lodging.
- Enter with a simple first stop in mind. Use the early part of the day to orient yourself, understand the terrain, and see how your body feels at elevation.
- Build in one purposeful walk. Select a route that matches the group’s actual conditioning and the day’s conditions, not the most dramatic photo you saved.
- Keep the afternoon adjustable. Use it for additional overlooks, a shorter walk, or a quiet wildlife-viewing stop rather than a second major objective.
Quick take
A good first-day question is not “What can we fit in?” It is “What will still feel enjoyable if the weather shifts, parking is tight, or the group needs more time at altitude?” The answer is usually one main outing plus a flexible scenic loop.
Signature experiences worth prioritizing
See the park from more than one elevation zone. If access and conditions permit, begin in lower meadows or forest, then travel toward higher viewpoints or alpine landscapes. The contrast is more memorable than checking off a long string of similar roadside stops.
Choose a hike for the experience, not the mileage. A first visit is a good time for a lake walk, a forest trail, or a moderate route with a clear turnaround point. At elevations that can exceed 14,000 feet in the park, pace matters. Drink water, eat regularly, rest when needed, and turn around before fatigue turns a pleasant outing into a long return.
Make room for unhurried observation. Rocky’s scenery often works best when you stop long enough to notice changing light, wind, clouds, and the difference between a sheltered forest and an exposed ridge. A pulled-over viewpoint or short trail can be more rewarding than another hour in the car.
First-timer mistakes that cost the most time
- Treating elevation like a detail: Visitors may arrive from much lower elevations and immediately attempt their biggest hike. Make the first outing conservative, especially if anyone feels headache, dizziness, nausea, or unusual fatigue.
- Planning by map distance alone: Curving mountain roads, pullouts, weather, and visitor traffic stretch the day. Keep fewer fixed commitments than you would in a city itinerary.
- Ignoring changing conditions: Check forecasts and NPS alerts on the day of your visit, not just when you first save an idea to Pinterest.
- Trying to photograph wildlife too closely: Use distance and zoom, remain alert to your surroundings, and follow all park rules. A respectful sighting is better than a disruptive one.
- Leaving no margin for the drive out: Finish your final stop with enough daylight and energy to return calmly, particularly after spending time at high elevation.
A realistic sample first day
Morning: Arrive from your chosen gateway with current NPS alerts already checked. Spend the first hour getting oriented, taking in a lower-elevation setting, and confirming that the day’s road and weather conditions support your plan. If entry procedures, parking, or access differ from what you expected, simplify early rather than trying to recover lost time later.
Late morning to early afternoon: Make your main outing a single hike or extended walk suited to the group. Choose a route category—lake, meadow, forest, or higher-elevation viewpoint—based on conditions and energy. Pause for food and water before you feel depleted, and decide on a turnaround point before heading farther out.
Afternoon: Use the remaining time for scenic stops and a second, shorter walk only if everyone still feels good. If clouds build, wind increases, or the forecast looks unsettled, shift toward lower, less exposed areas and keep the exit simple.
End the day with a useful note for tomorrow: Which elevation felt comfortable? Which side of the park was easier to access? Did traffic or weather alter your timing? Rocky Mountain National Park rewards visitors who use the first day as an orientation, then make the next decision with better information rather than bigger ambitions.
Before you go
- Review official alerts, closures, hours, and reservation requirements.
- Allow extra travel time and keep an alternate plan.
- Use official NPS information as the final authority.
Sources
- Rocky Mountain National Park — official National Park Service site — National Park Service, accessed 2026-08-20
Continue planning Rocky Mountain
Learn more about Rocky Mountain and find other helpful guides, trails, and trip information in the ParkQwest guide.
ParkQwest is a QwestLyfe Community.
QwestLyfe helps you track your lifelong bucket lists, collections, recipes, and the places you've been. Document your experiences, add notes and pictures, and share them with your friends — and the world.